Quickstart: Deploy a New TideCloak
This guide gets a working TideCloak server running locally, newly created realm, linked to your Tide account, and verified with a sign-in from a test app. For what TideCloak is and why it works the way it does, see the Admin Overview.
Assumes: Docker installed and running, internet connectivity, and basic familiarity with a terminal command line. Names, ports, and URLs below are examples you can substitute for your own.
1. Start a TideCloak server
Run the pre-configured Dev container:
sudo docker run \--name mytidecloak \-d \-v .:/opt/keycloak/data/h2 \-p 8080:8080 \-e KC_BOOTSTRAP_ADMIN_USERNAME=admin \-e KC_BOOTSTRAP_ADMIN_PASSWORD=password \tideorg/tidecloak-dev:latest
--name: container name-d: run in the background-v: persist the database to a local folder-p 8080:8080: map the host port (adapt if 8080 is taken)KC_BOOTSTRAP_ADMIN_[USERNAME | PASSWORD]: master-admin credentials
After a few seconds the server is reachable at http://localhost:8080.
To show the logs:
sudo docker logs mytidecloak
2. Set up your realm
- Go to the root at
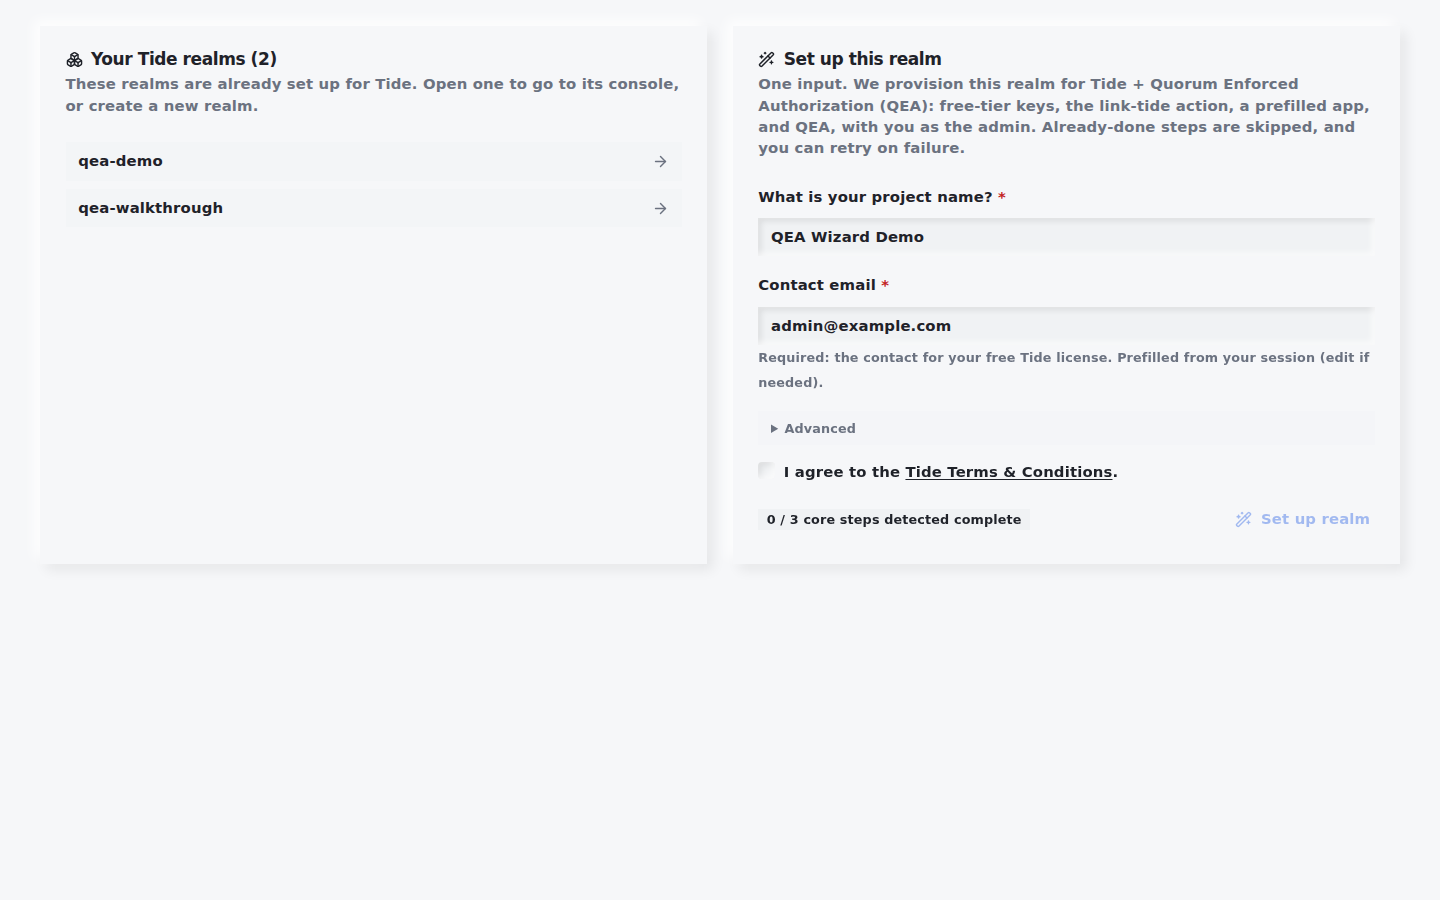
http://localhost:8080/and sign in with the master-admin credentials (admin/password). You land on the Set up this realm page. - Enter the project name and contact email, then accept the terms.
- Click Set up realm.
This provisions the realm, Tide keys, a prefilled app, and your admin user in one step.
3. Link your Tide account
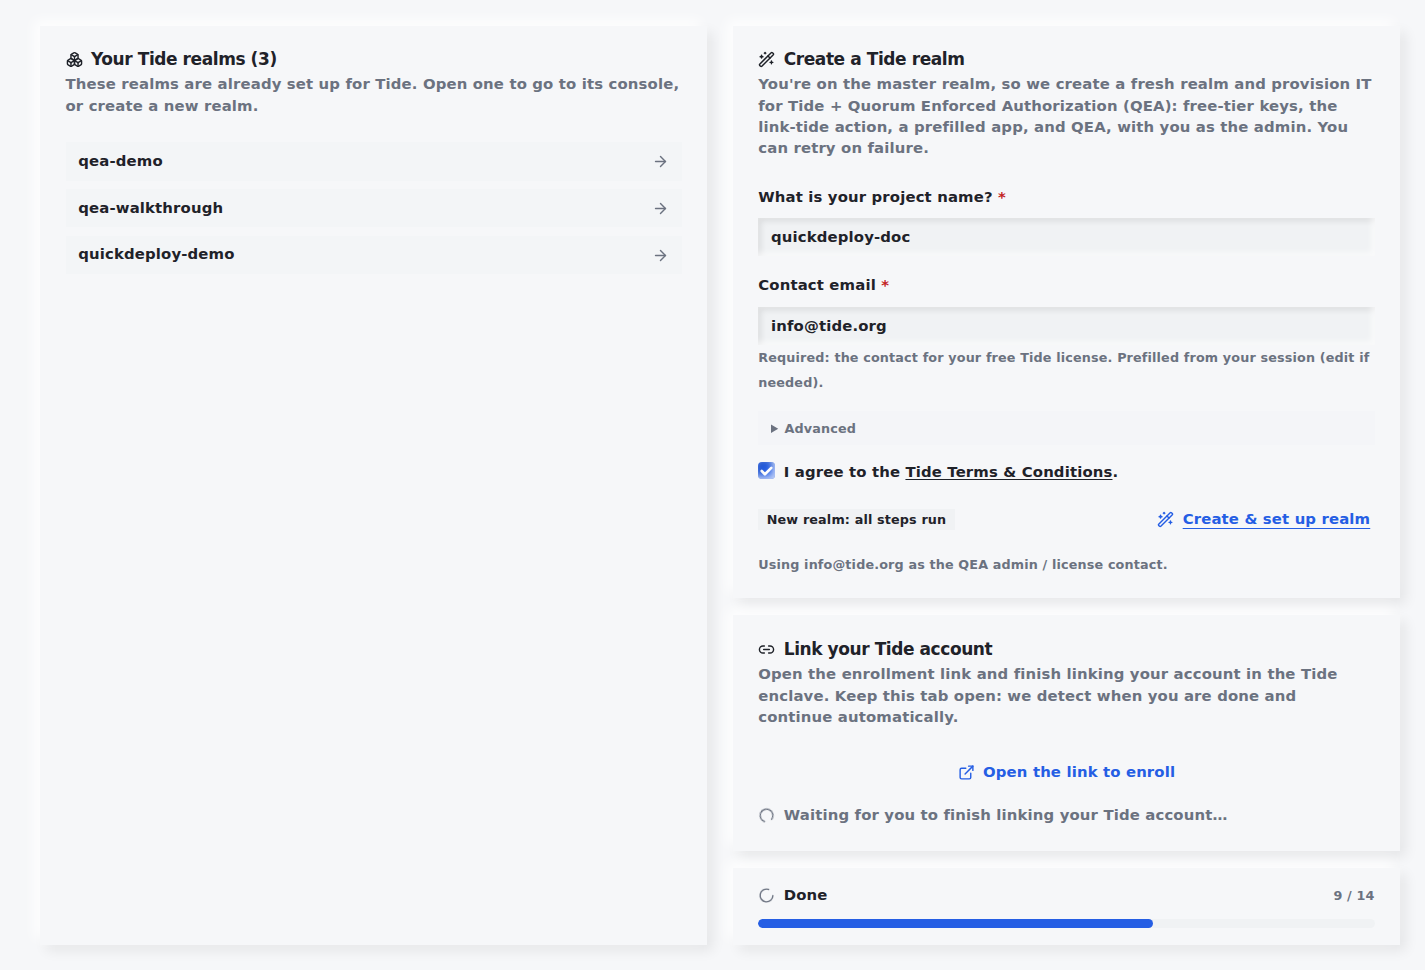
Before you can sign in to the realm's tide-console as the new admin, link your Tide account through the enclave.
- On the Link your Tide account card, click Open the link to enroll. Keep the tab open.
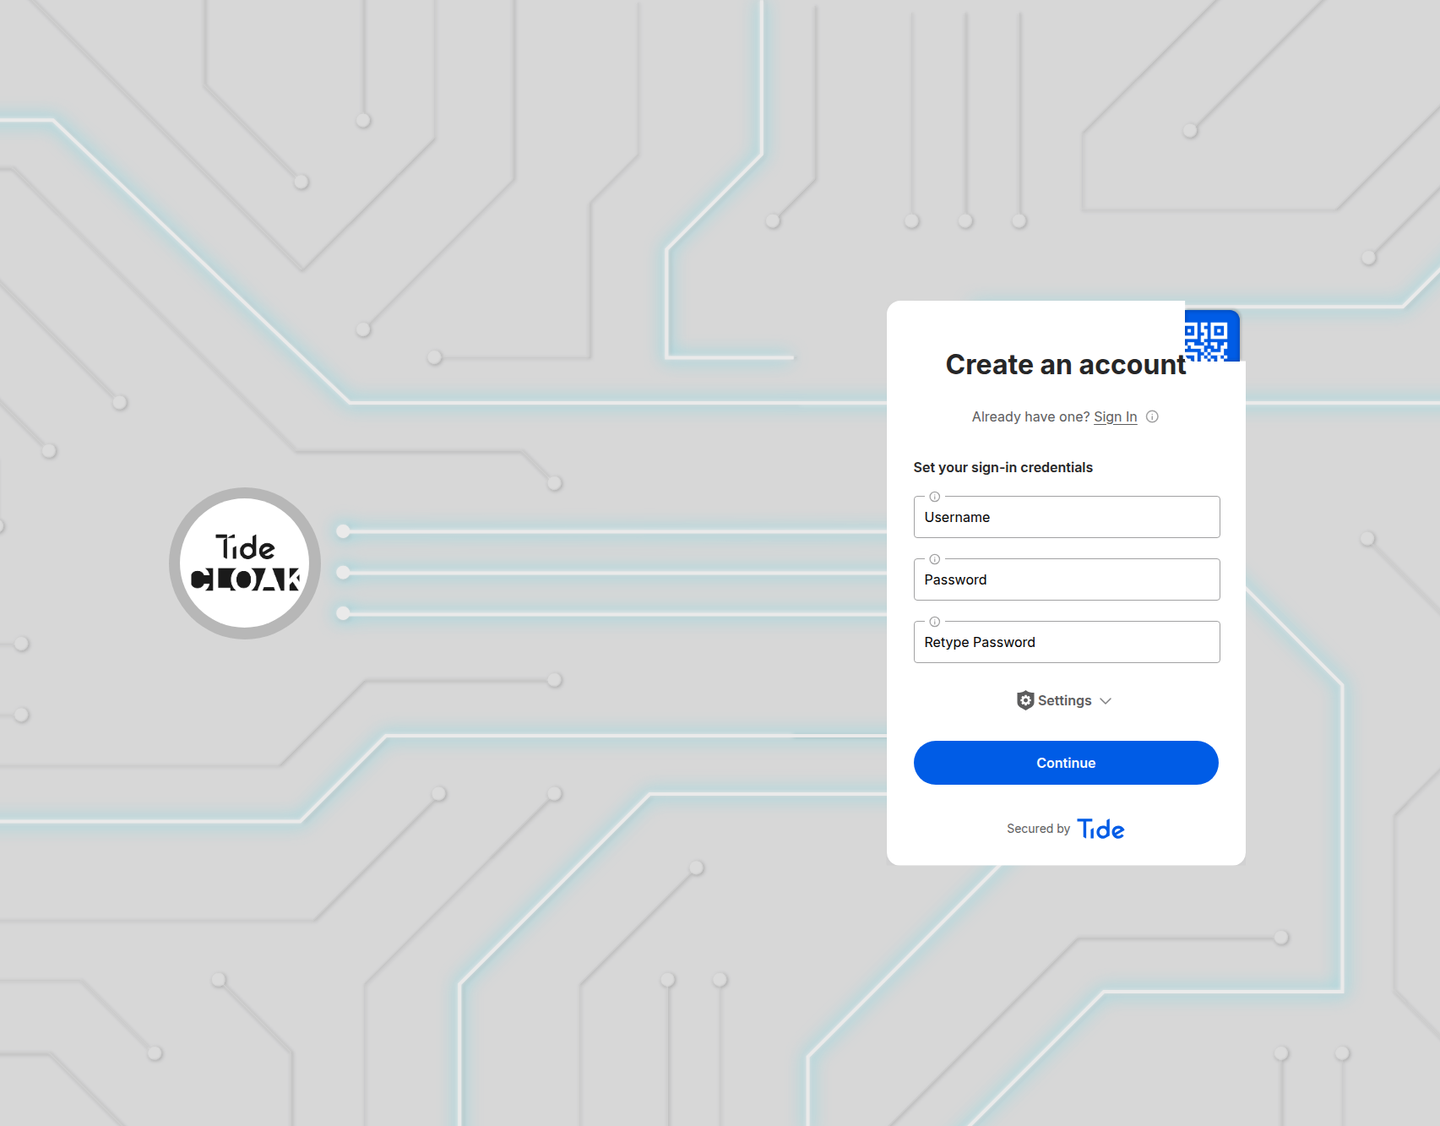
- In the Tide enclave, click Create an account, pick a username and password, then follow the prompts (including a recovery email) to finish enrolling.
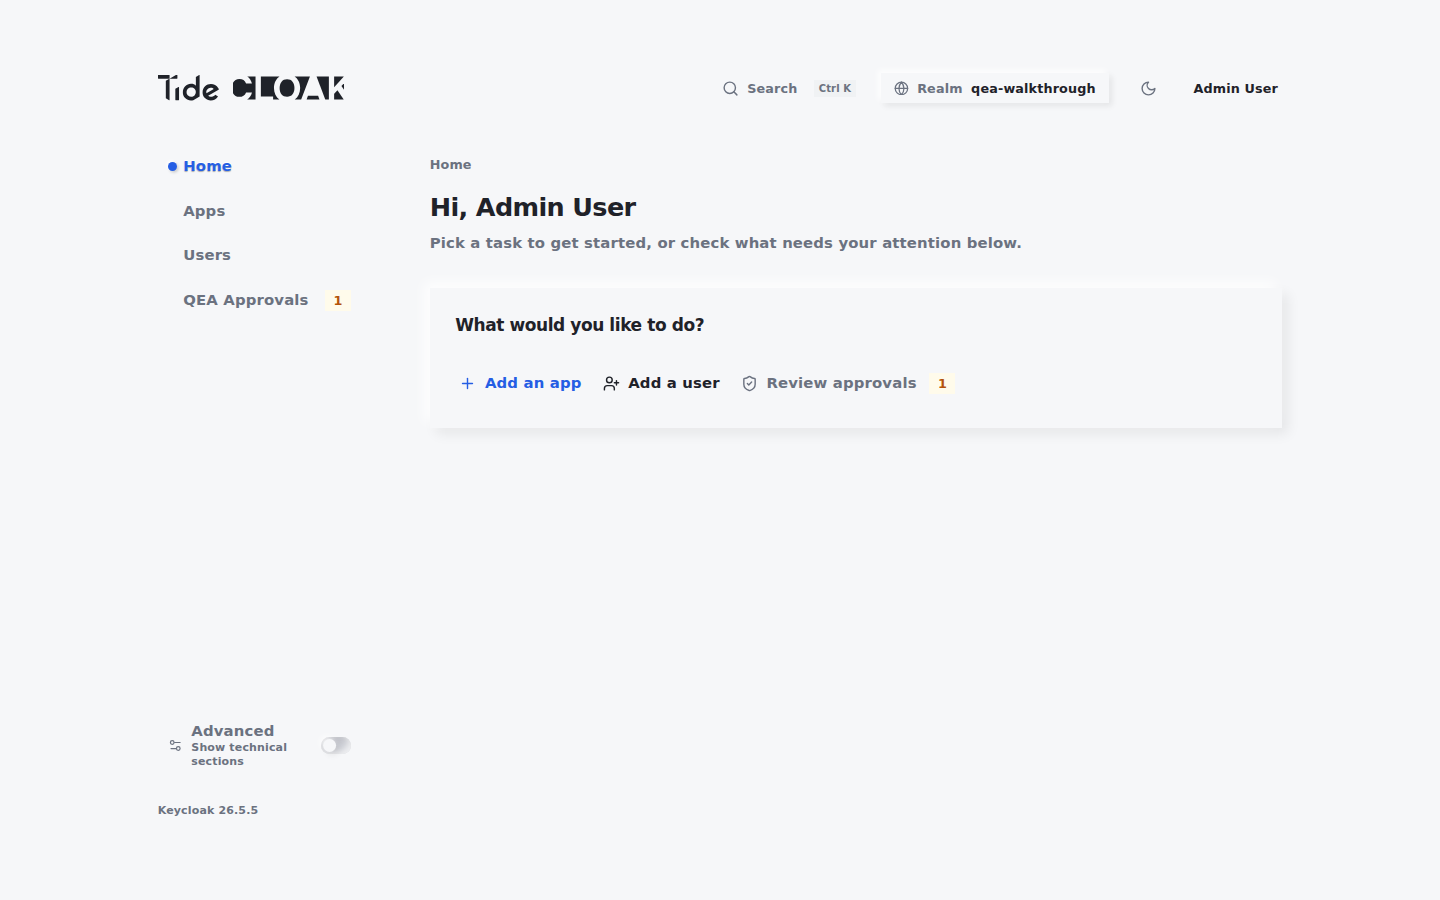
The wizard detects when linking is done and lands you in the tide-console as the first admin.
The free developer license supports up to 100 users. To review or change it, see Manage your license.
4. Verify with the test app
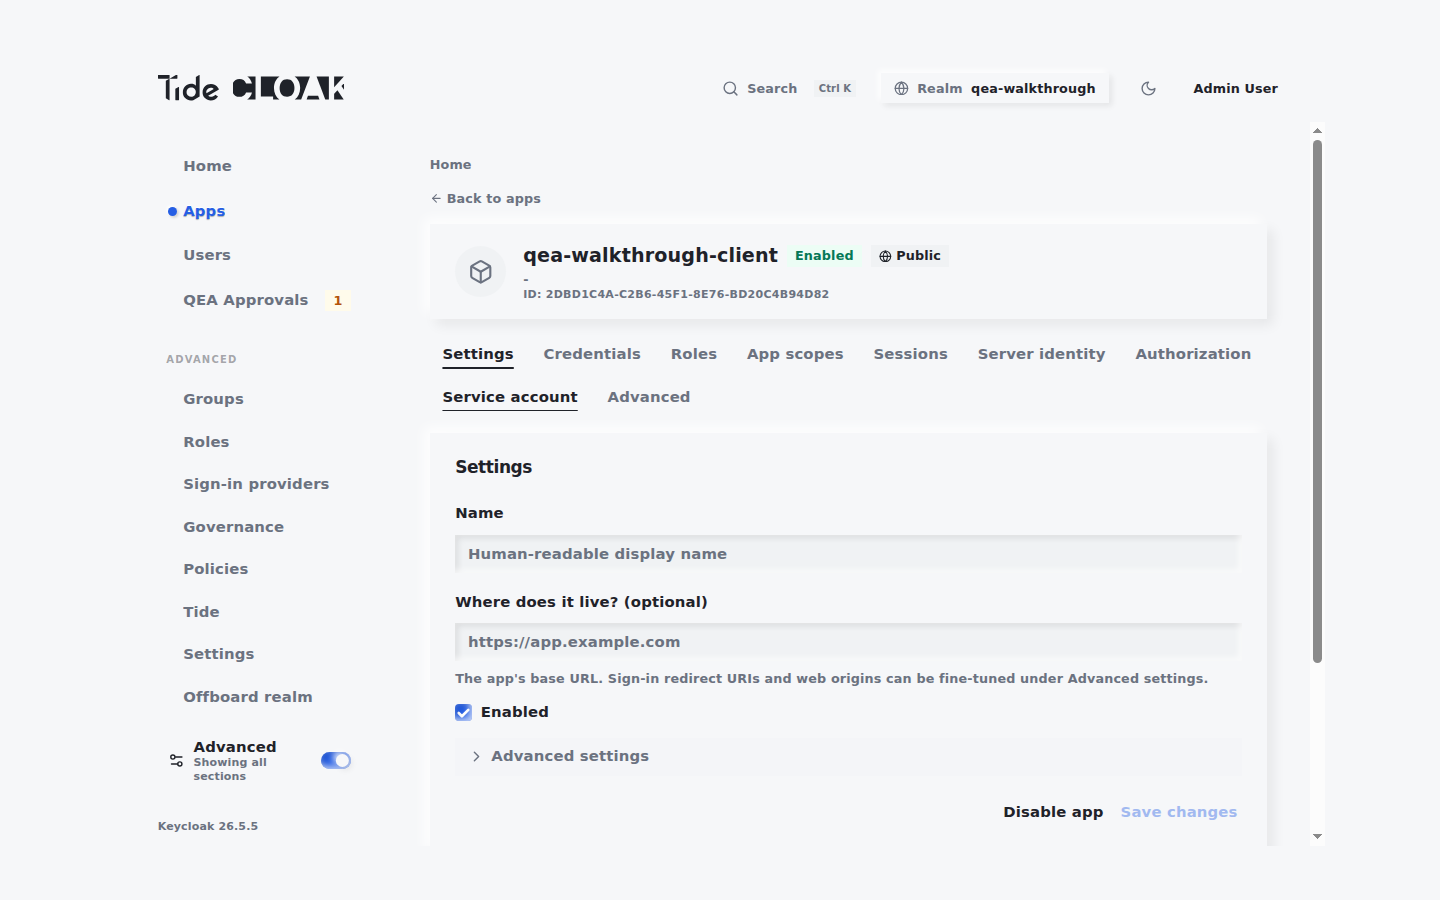
The hosted test client lives at https://test.tidecloak.com, so it needs an app in your realm whose sign-in settings allow that origin. The prefilled app from the wizard allows http://localhost:8080 only, so register a dedicated test app first.
- Register an app for the test origin: follow Register an app and, when prompted for where the app lives, enter
https://test.tidecloak.com. Note the client ID you give it. - Open https://test.tidecloak.com/.
- Set the fields to match your realm and the app you registered:
- TideCloak URL:
http://localhost:8080 - Realm: your realm name (for example
myrealm) - Client: the client ID from step 1
- TideCloak URL:
- Click Save.
- Click Sign in and complete auth via the Tide portal.
A successful login confirms your realm is operational.
tide-console quick tasks
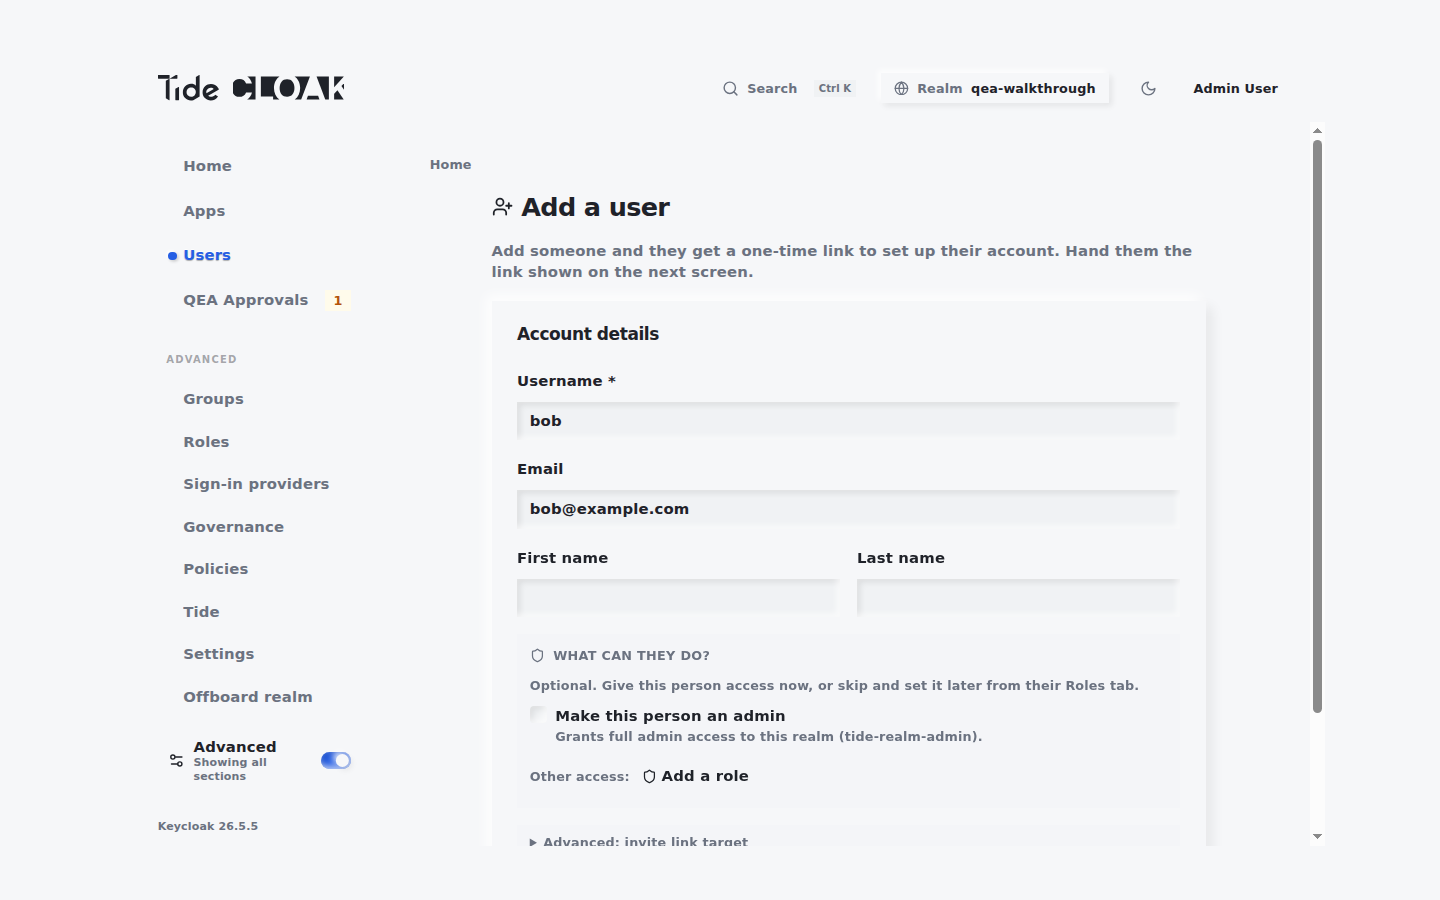
a. Create a user
- Go to People and click Add a user.
- Enter a username and click Add user.
- Hand the one-time link shown on the next screen to the user (DM, email, or SMS) and have them follow the instructions.
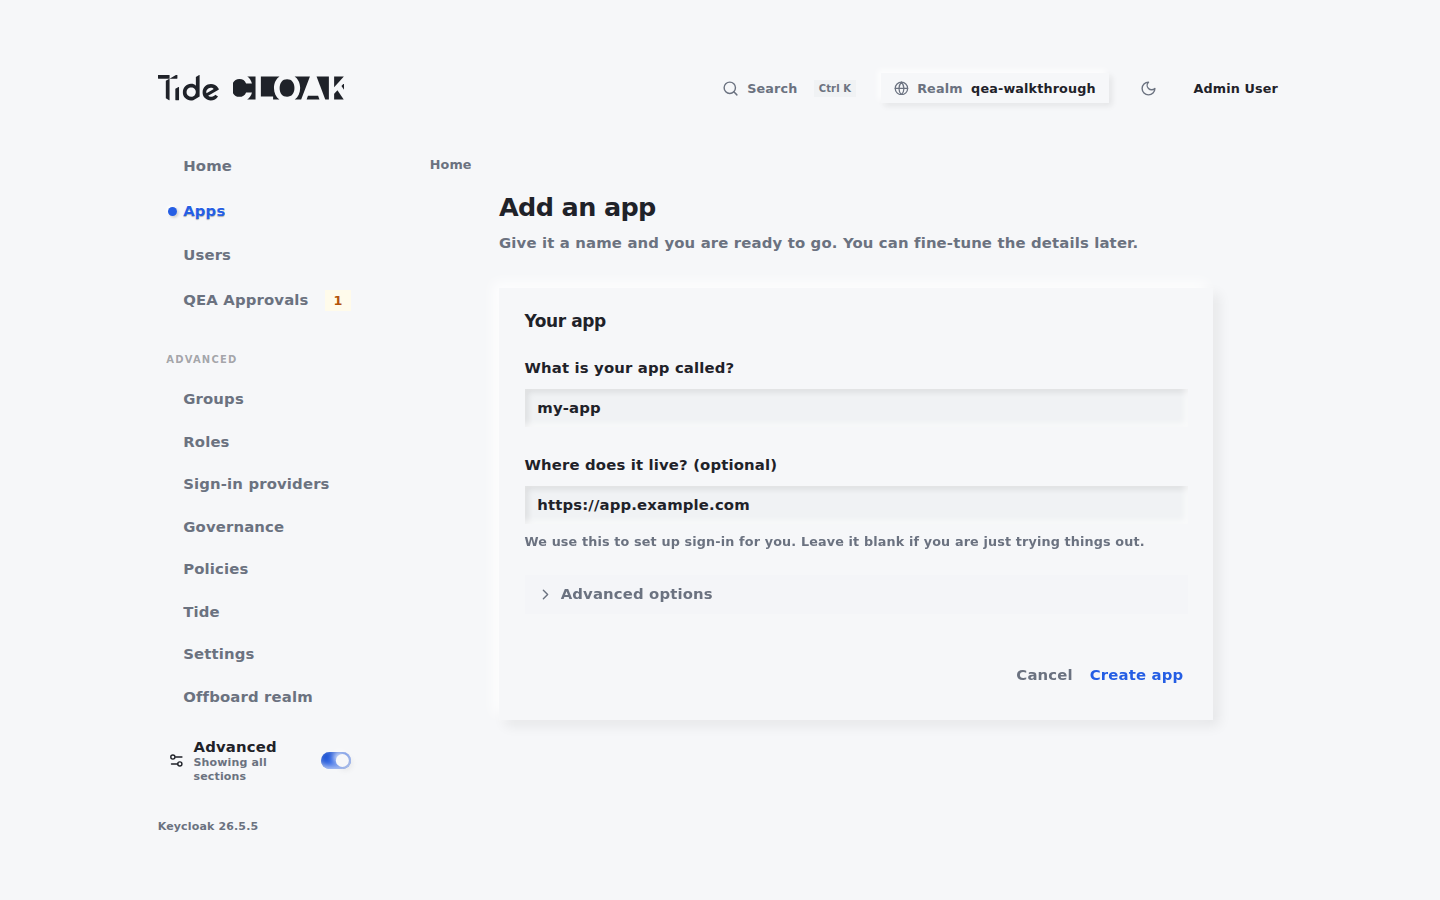
b. Register an app
- Go to Apps and click Add an app.
- Enter the app name, optionally enter where it lives to prefill sign-in settings, then click Create app.
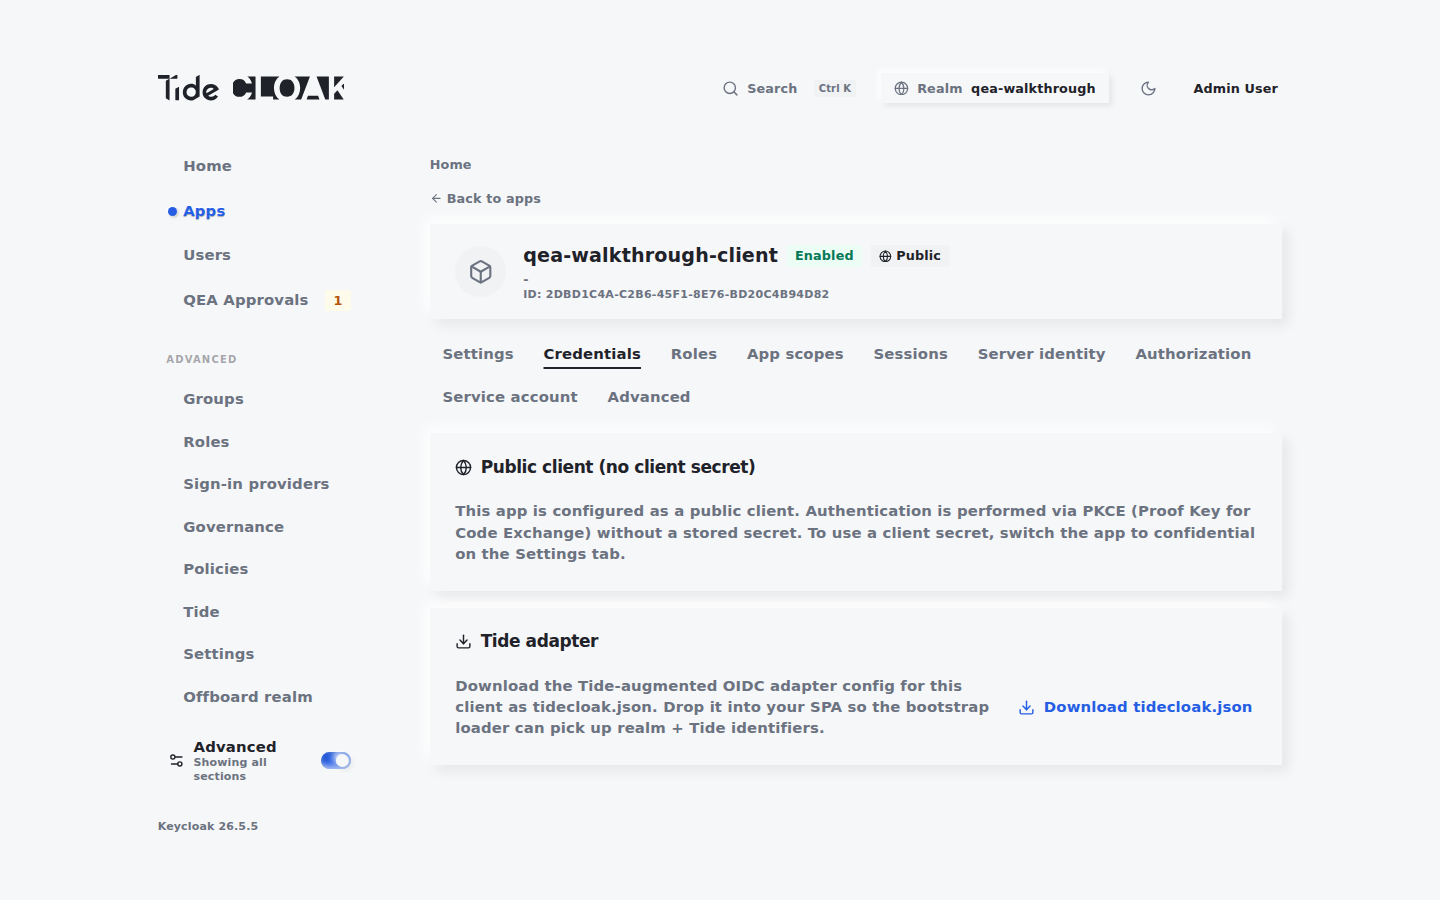
- Open the app from the Apps list, go to the Credentials tab, and under Tide adapter click Download tidecloak.json.
Next steps
- Users manage their profile, password, and 2FA at the account console:
http://localhost:8080/realms/<your-realm>/account. - Govern admin actions with quorum approvals: Set up IGA governance.
- Connect an external identity provider: Identity providers.
- Protect data with end-to-end encryption: E2EE.
- Decommission a realm: Offboarding (Ragnarok).