Setting Up TideCloak as an Identity Provider
This guide shows you how to use TideCloak (with Tide) as the OIDC identity provider for your application: where to confirm that Tide is wired as your realm's sign-in provider, how to point an app's OIDC client at it, and how to verify that Tide-managed sign-in works end to end.
Tide is wired as the realm's sign-in provider automatically by the Set up this realm wizard, so this is not a guide to manually adding an IdP. For background on decentralized login and what an identity provider does, see the Admin Overview.
Before you start
- You have a running TideCloak instance.
- You have a realm provisioned through the Set up this realm wizard, or you are about to create one. See the Quickstart for the full setup.
- You have basic familiarity with OIDC clients and redirect URIs.
Open the console and provision a realm
- Go to the server root at
http://localhost:8080/. - Sign in with the master-admin details you specified during setup. You land on the Set up this realm page.
- On the Set up this realm wizard, enter the project name and contact email, accept the terms, and click Set up realm.
That one action provisions everything: the realm, Tide keys, the attestor, a prefilled app (client), QEA, your admin user with tide-realm-admin, your link-tide enrollment, and Tide as the realm's sign-in provider. There is no separate manual realm, user, client, or IdP setup.
You can add more users later under People, and more apps (clients) under Apps.
Confirm Tide is the sign-in provider
You do not add Tide as an IdP or set a default login flow by hand: the wizard does it. To confirm:
- Turn on the Advanced toggle in the tide-console.
- Open the Sign-in providers surface. It is status-only and shows that Tide is the active sign-in provider for the realm.
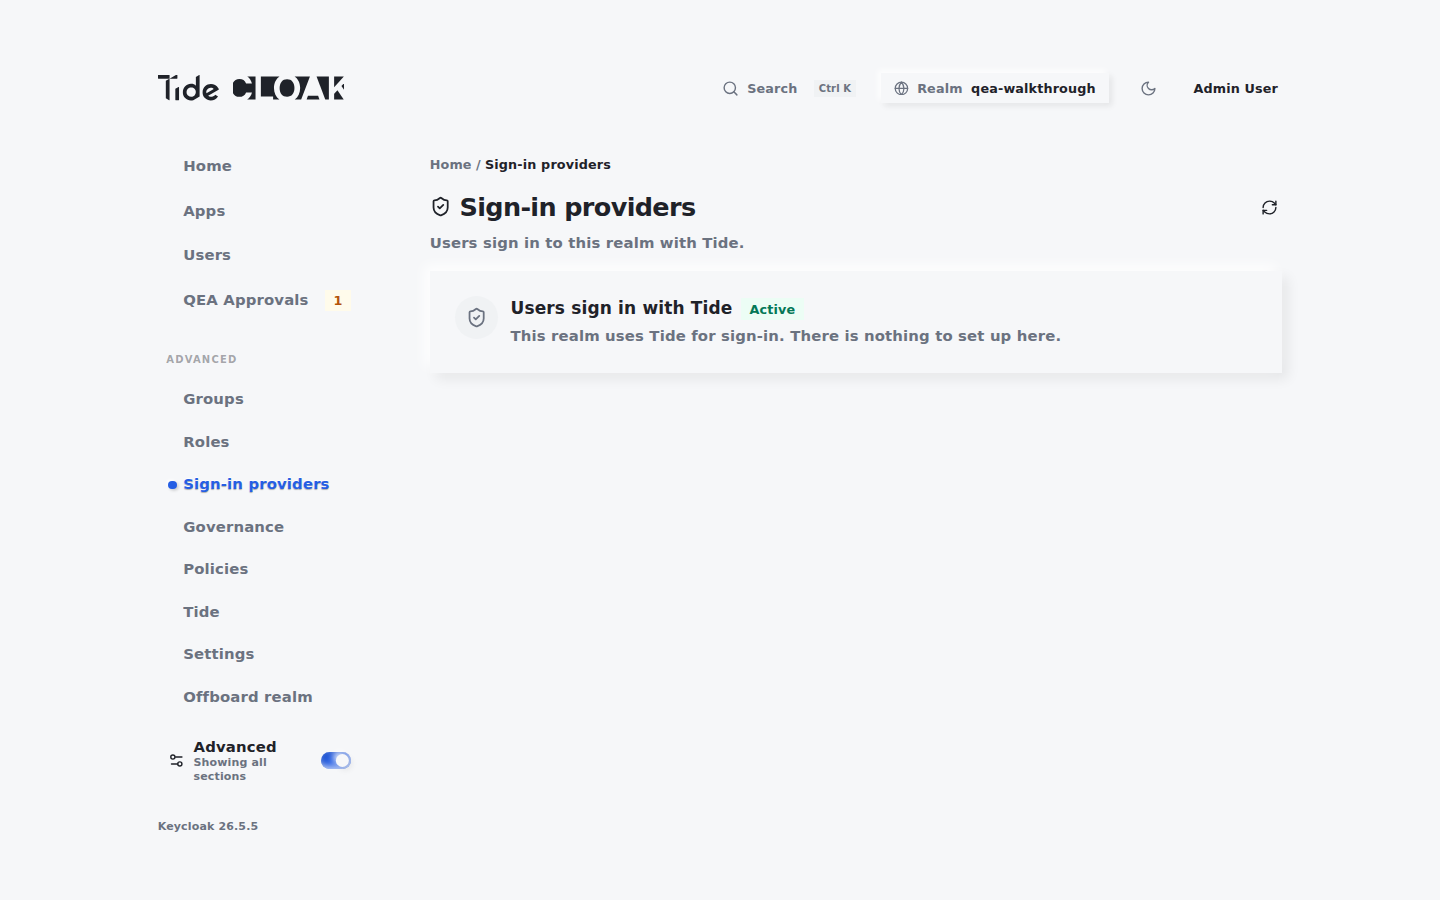
All unauthenticated users for the realm are redirected to Tide for login.
Point an OIDC client at the realm
- In the tide-console, open Apps and use the prefilled client, or create a new one for your application.
- Configure your application's OIDC settings against this realm: issuer, client ID, and the redirect URI your app uses.
- Save the client settings.
For attribute- and role-based access control on top of this client, see Setting Up IGA.
Verify Tide-managed sign-in
Use the SPA Testing App to confirm the integration:
- Launch the app.
- Click Save to keep the default client settings.
- Click Sign In.
- You are redirected to the Tide login screen.
If the redirect reaches the Tide login screen, Tide is serving as your realm's identity provider.
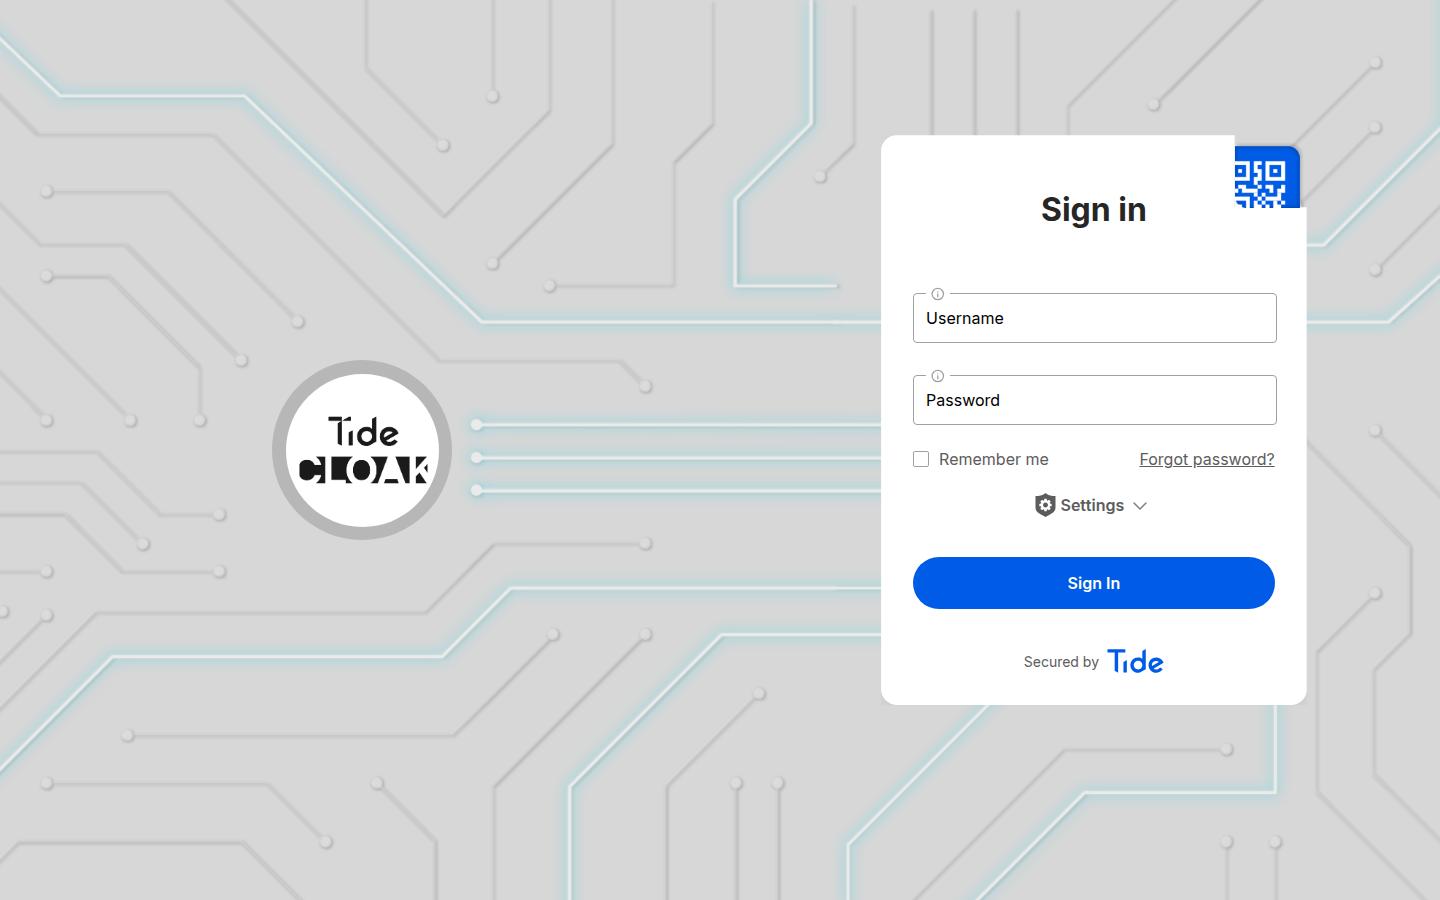
To exercise first-time onboarding, click Create an account on that screen, enter a username and password, select key storage nodes, optionally configure recovery, and complete registration. The user then returns to your app authenticated.