QEA Guide: Setting Up and Using Tide QEA
Goal: turn on quorum governance for a Tide realm, link your first admin, add more admins, and authorize and commit governed changes.
This is a task recipe. For what QEA (Quorum Enforced Authorization) is and why changes go through it, see the Admin Overview. For the end-to-end governance flow under the hood, see Quorum Enforced Governance.
Assumptions
- A running TideCloak server you can reach (see Quickstart).
- A Tide IDP-backed realm with license activated (see Manage your Tide license).
- Access to the tide-console and the master-admin credentials.
- Familiarity with access tokens, roles, and client scopes.
1. Provision the QEA realm
The tide-console setup wizard provisions the QEA realm in one action.
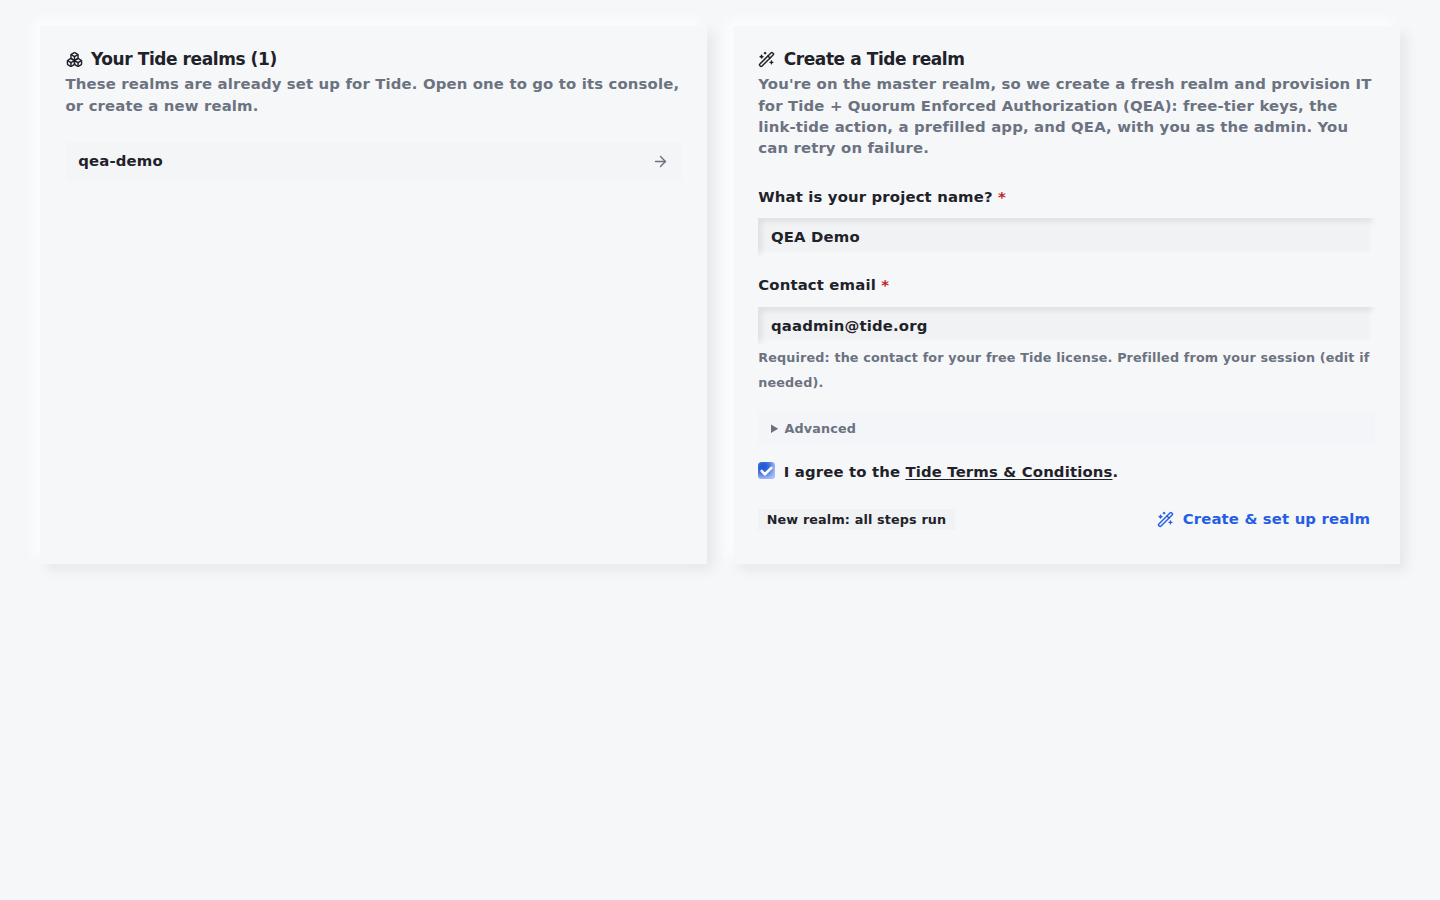
- Go to the root at
http://localhost:8080/and sign in with the master-admin details. You land on the Set up this realm page. - In Set up this realm, enter the project name and contact email, then accept the terms.
- Click Set up realm.
That one action provisions everything: the realm, Tide keys, the attestor, a prefilled app, QEA turned on, the ADOPT change requests that bring existing state under attestation, your admin user with tide-realm-admin, and your link-tide enrollment.
2. Link your Tide account (the first QEA admin)
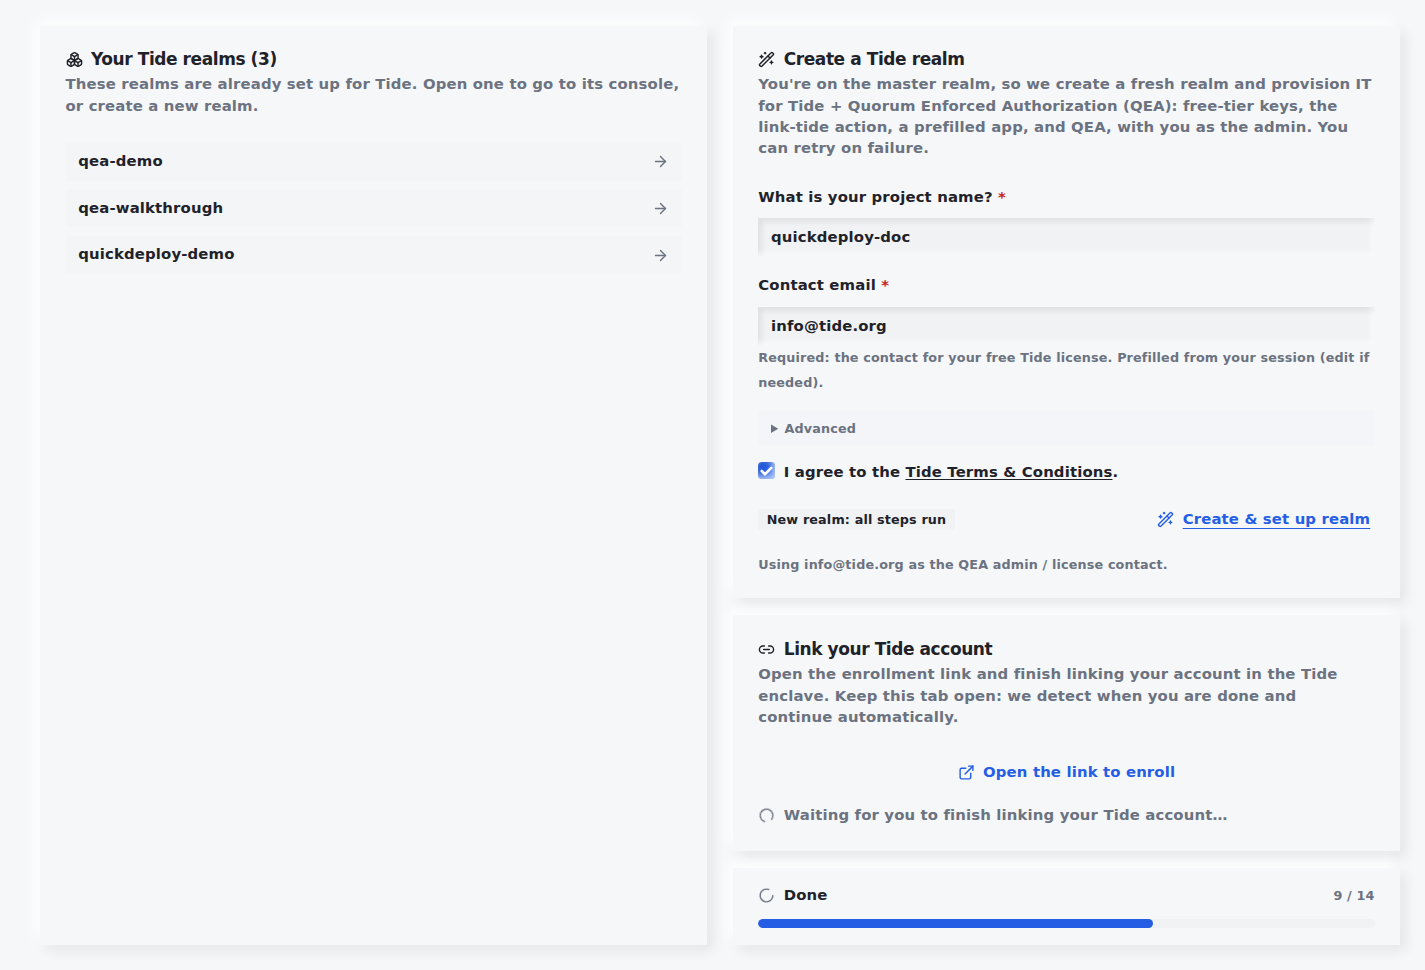
The wizard already created your admin user and granted it tide-realm-admin. To activate it as the first QEA admin you only need to link your Tide account through the enclave.
- On the Link your Tide account card, click Open the link to enroll. Keep the tab open.
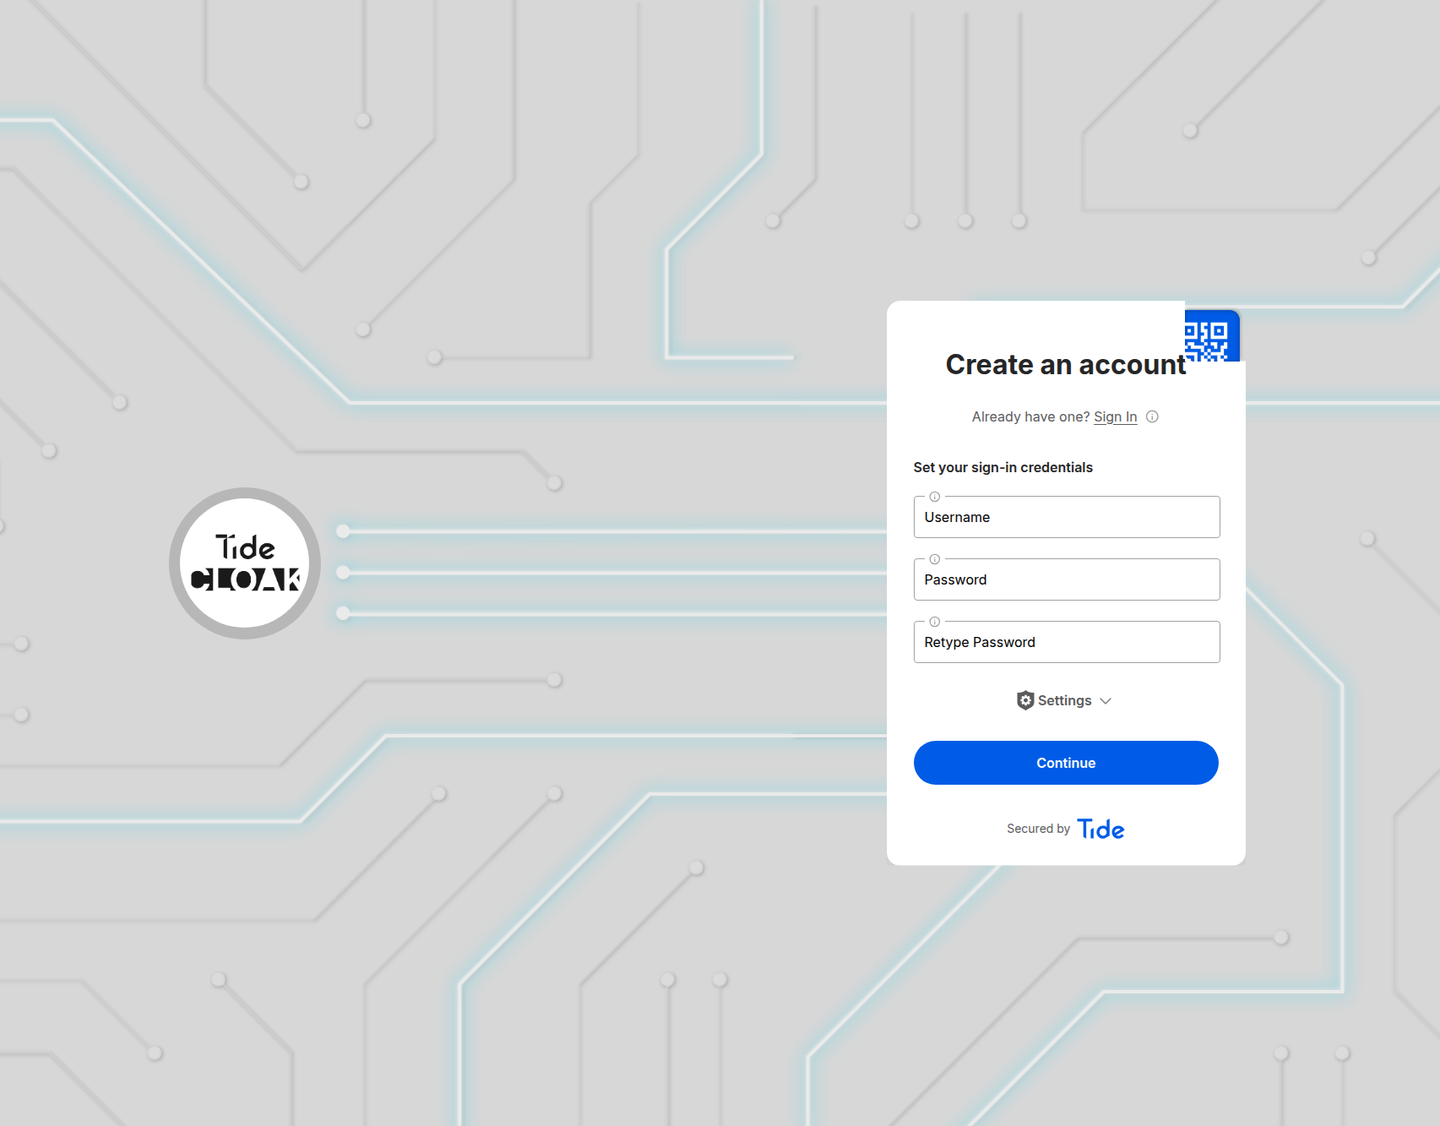
- In the enclave, create your Tide account (or sign in) and set your sign-in credentials.
The wizard detects when linking is done and lands you in the tide-console as the first admin.
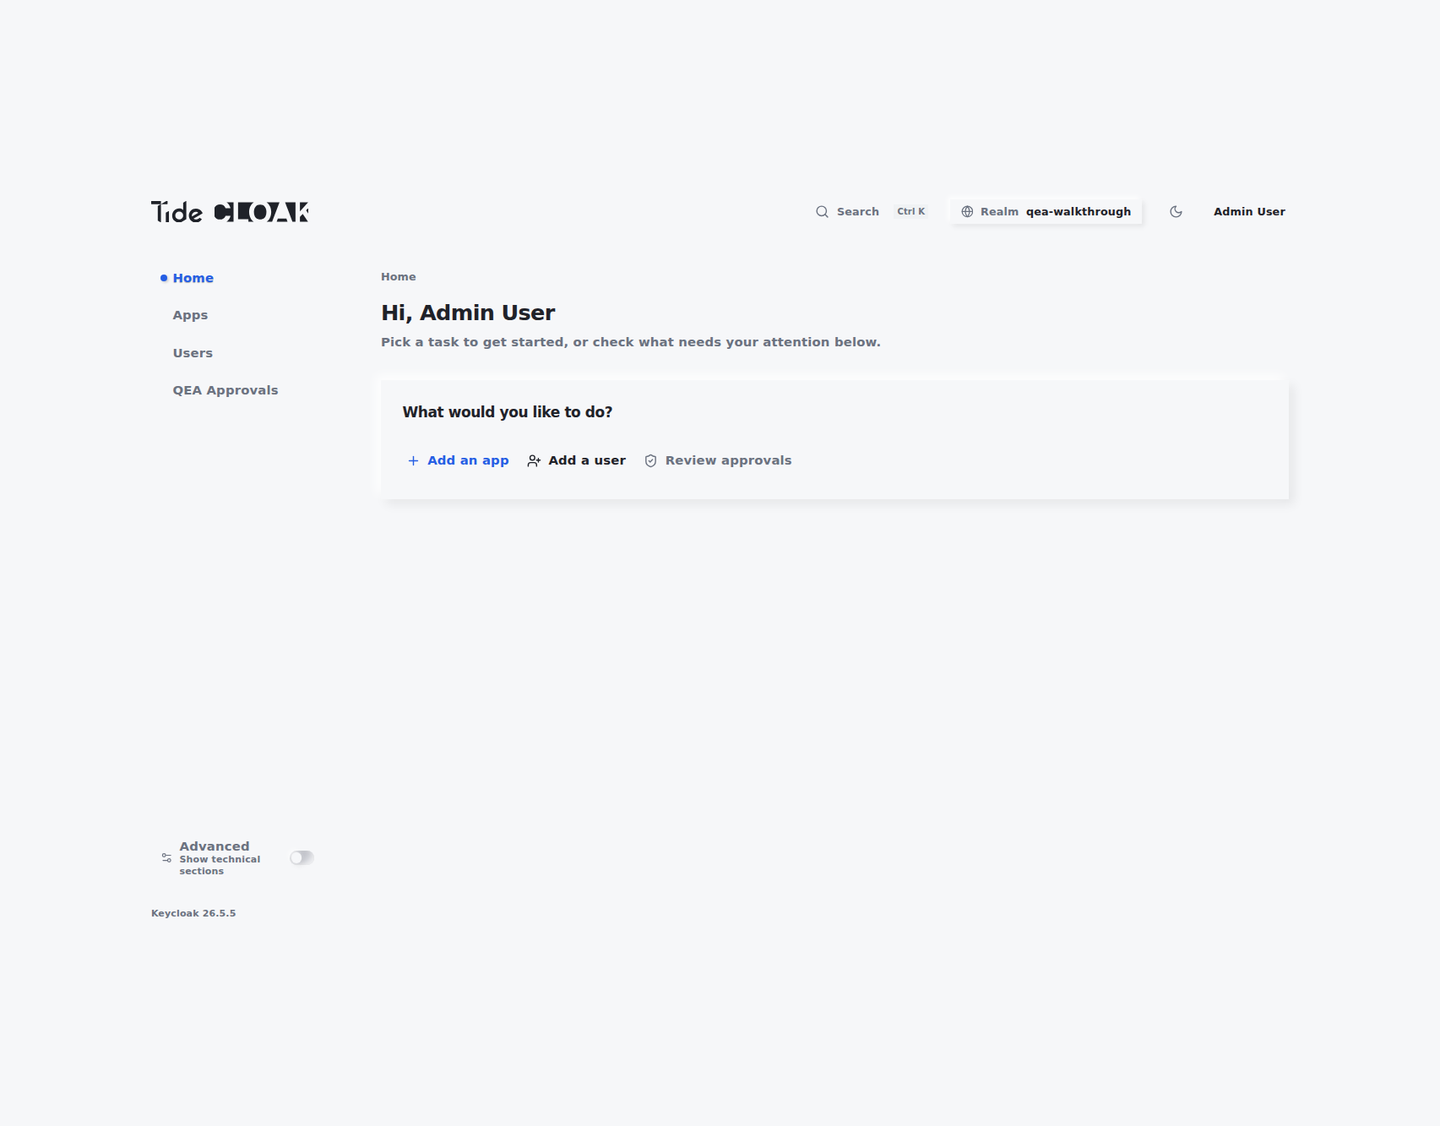
The primary nav is Home, Apps, People, and QEA Approvals. The Advanced toggle (bottom-left) reveals Groups, Roles, Sign-in providers, Governance, Policies, Tide, Settings, and Offboard realm.
3. Add Additional Admins
While you are the only tide-realm-admin, the approval threshold is 1. Adding more admins raises the quorum (roughly 70% of total admins), so every change then needs more than one approval.
For each new admin:
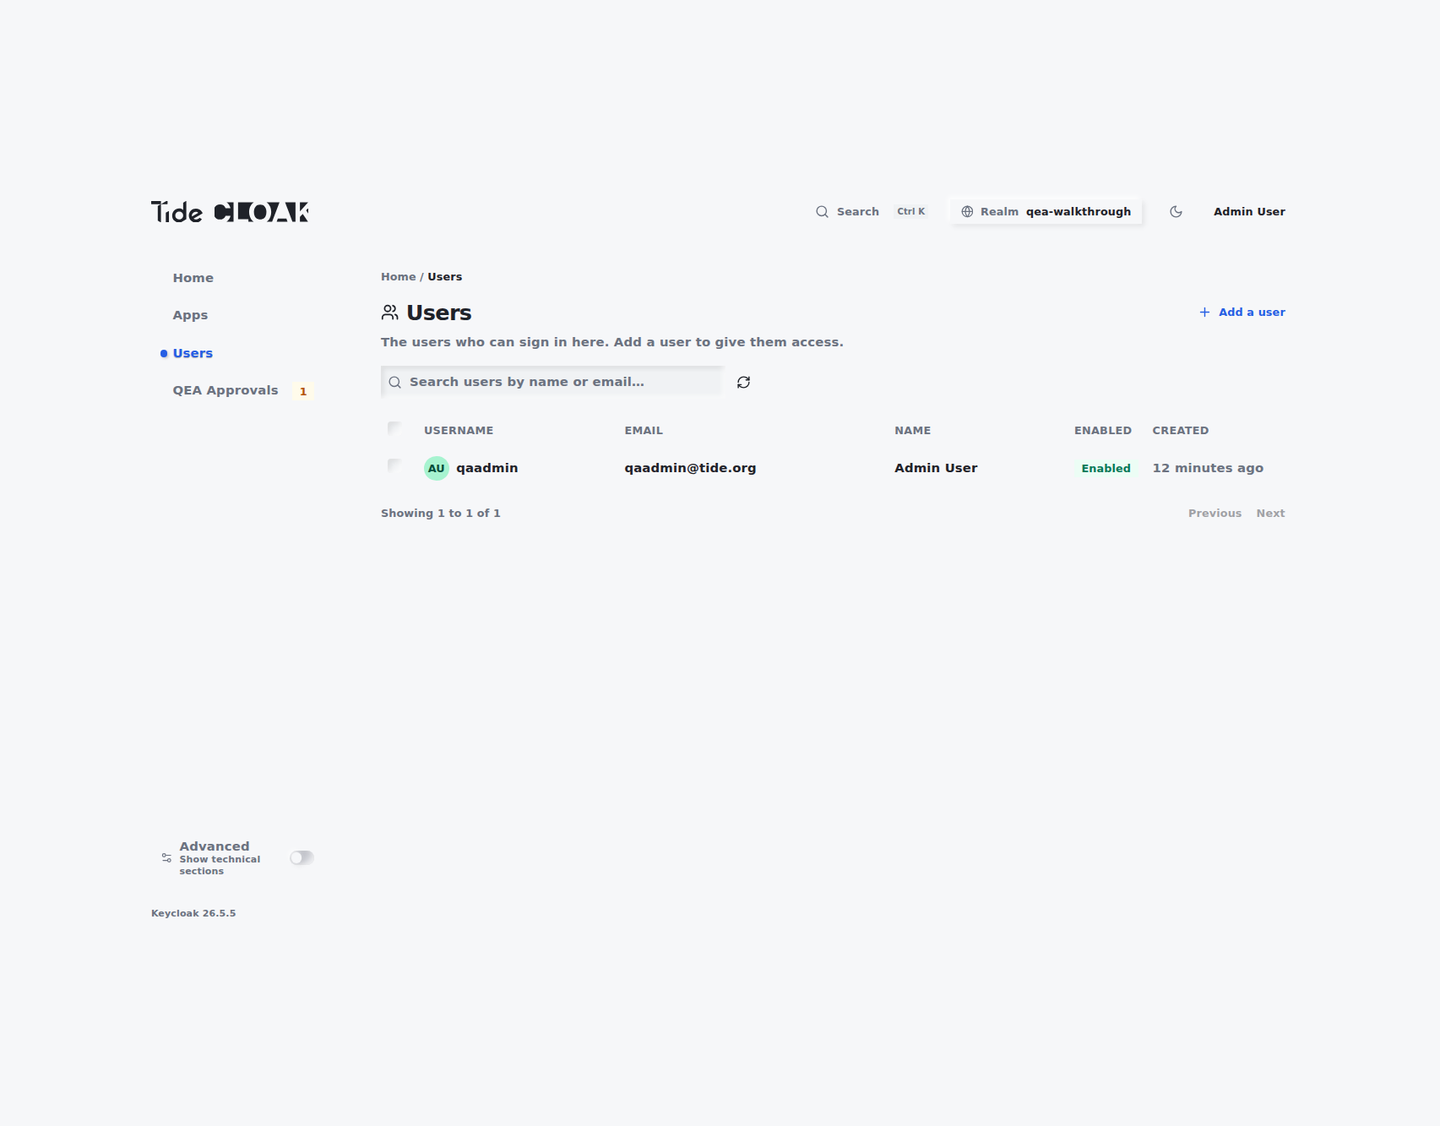
- Go to People and click Add a user. Enter a username (e.g.
iga_admin_2) and click Add user. - Hand the new user the one-time link shown on the next screen so they can enroll their Tide account through the enclave.
- Turn on the Advanced toggle, go to Roles, and grant them tide-realm-admin. Granting an admin role is itself a governed change, so authorize the resulting request in QEA Approvals when you are done.
4. Accessing Change Requests
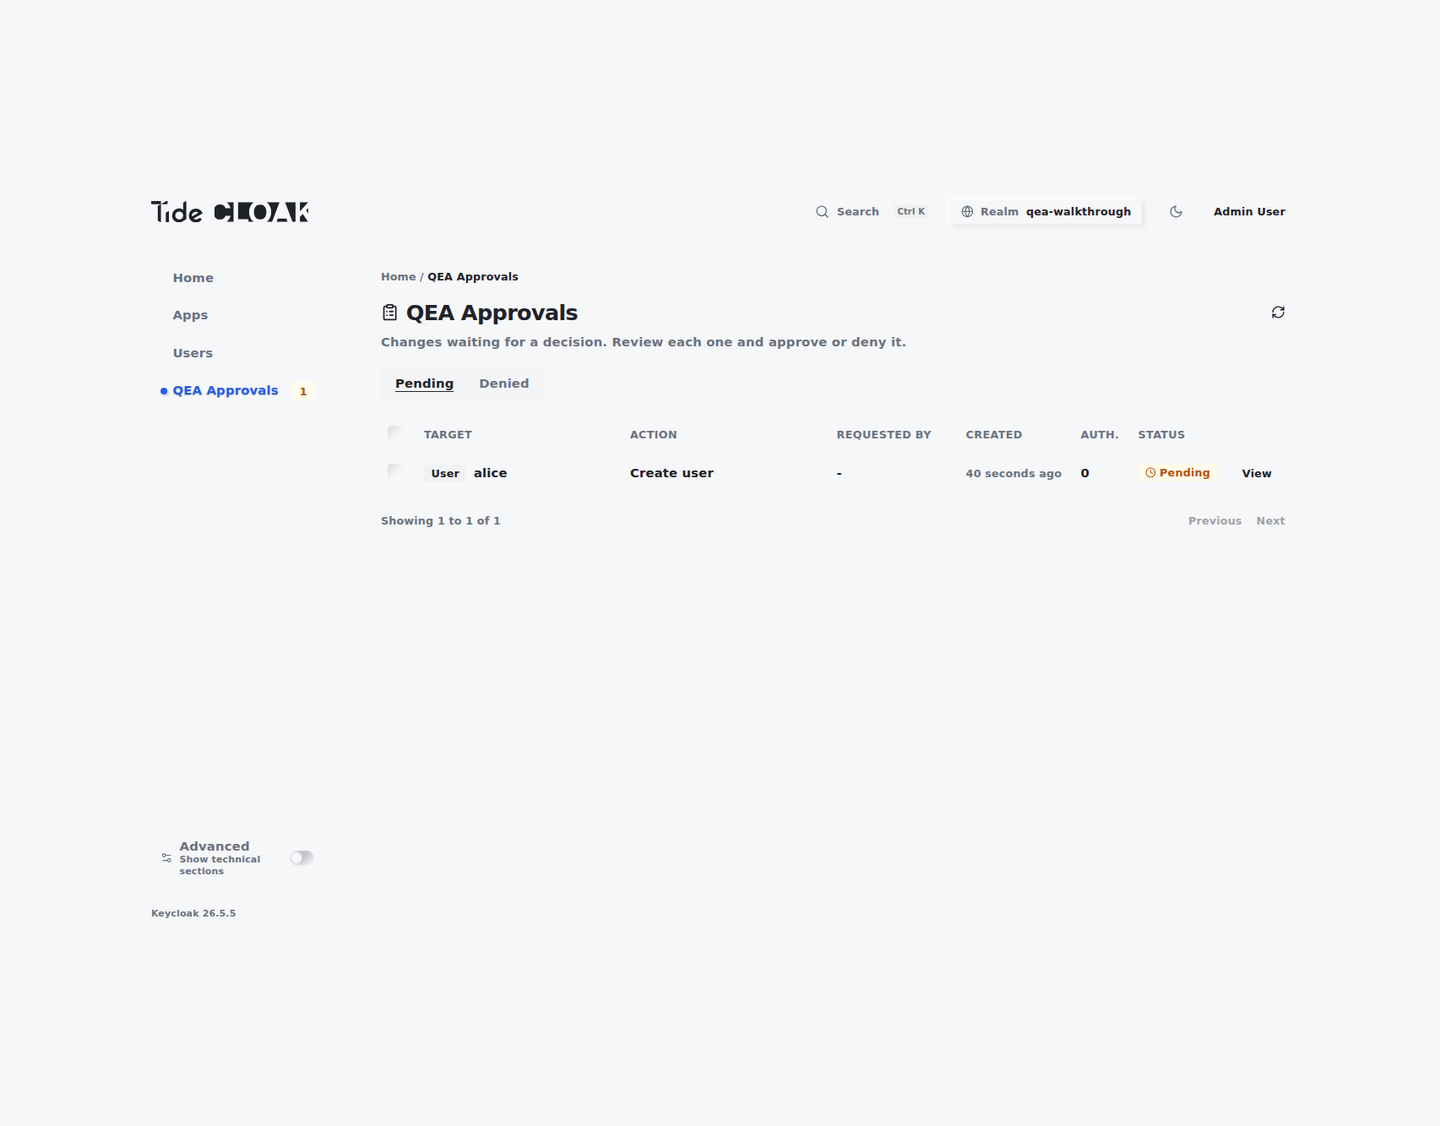
Governed writes are captured as change requests rather than applied immediately. To review them:
- Sign in to the tide-console (
http://localhost:8080/realms/{realm}/tide-console/). - From the left menu, select QEA Approvals.
4.1 The inbox
Each pending request shows the target it affects (an app, a user, a role), the action type, when it was created, its authorization count, and its status. The Pending and Denied tabs let you filter. Click View to open a request and see its detail.
5. Managing Change Requests
5.1 Authorize vs Commit
Each change request supports two actions:
- Authorize (
POST .../approve, body{}) records your approval and commits automatically once approvals reach quorum. With one admin, a single Authorize applies the change straight away. Authorizing a request you already authorized returns200with"committed": falserather than an error. On multiAdmin realms, approval goes through the Tide enclave, so it can't be done with a plain REST call. - Commit (
POST .../commit) applies a request that has already reached quorum. Below the threshold it returns412, with the errorNeed N more signature(s)on firstAdmin realms orQUORUM_NOT_METon multiAdmin realms. It also returns412 DEPENDENCY_NOT_METwhen the request depends on another request that is not yet committed.
To act on a request:
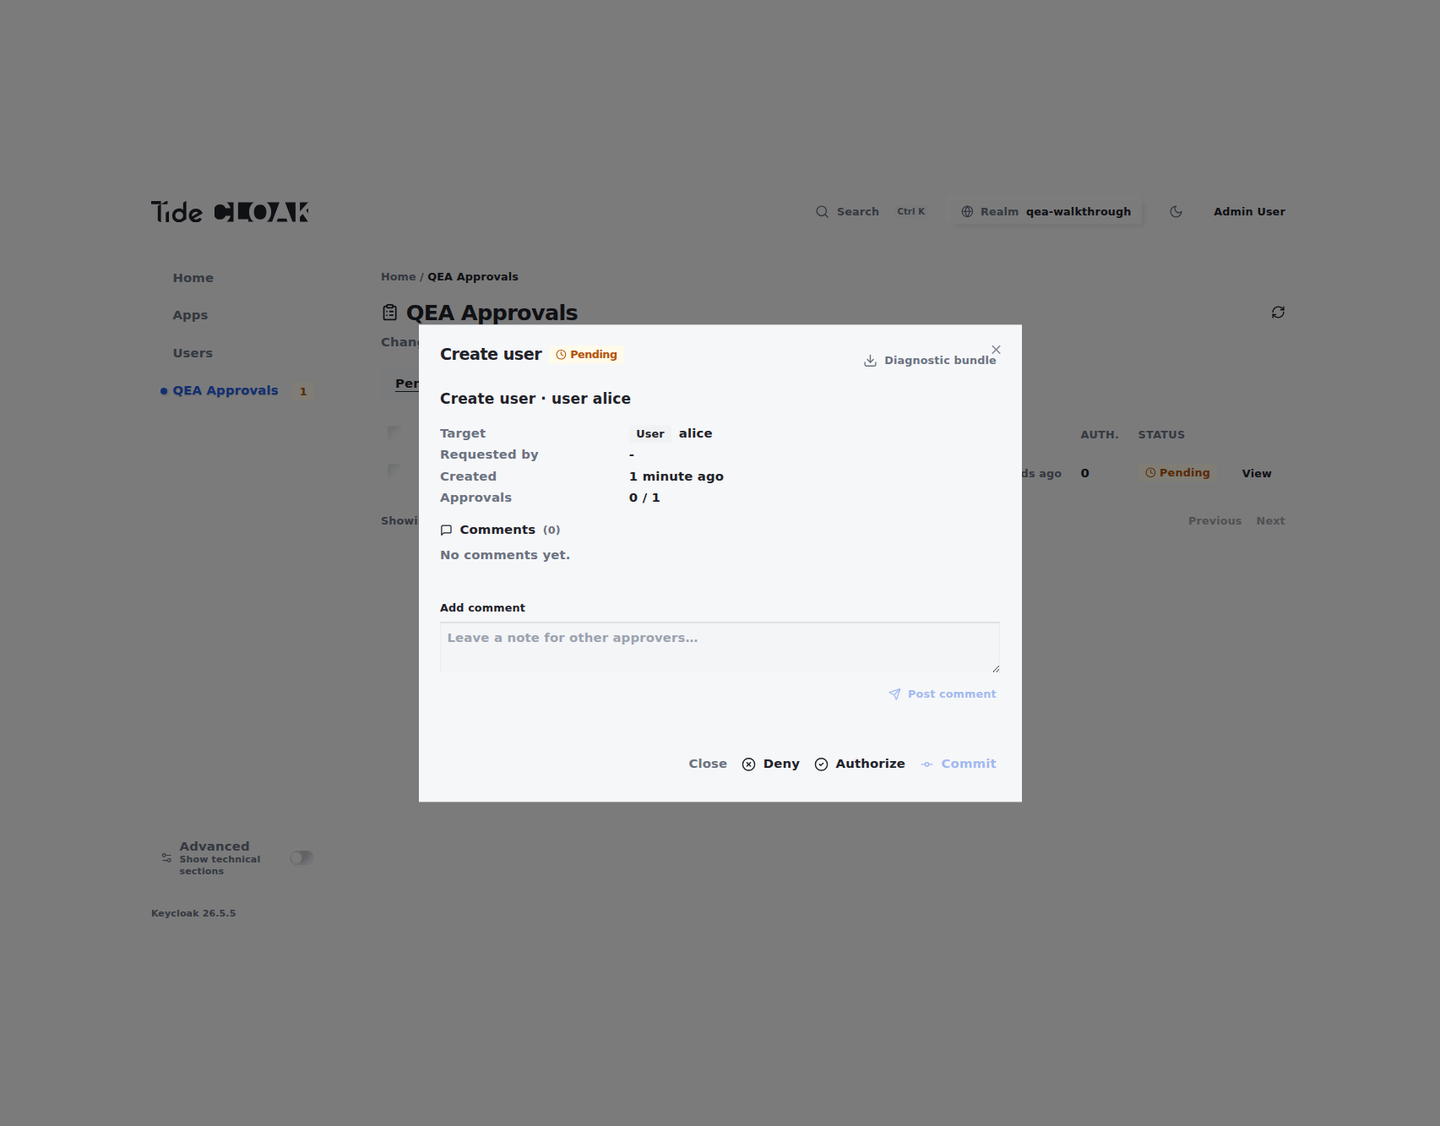
- Under QEA Approvals, open a PENDING request and click View.
- Review the target and action, optionally leave a comment for other approvers, and click Authorize (or Deny).
5.2 User Role Changes
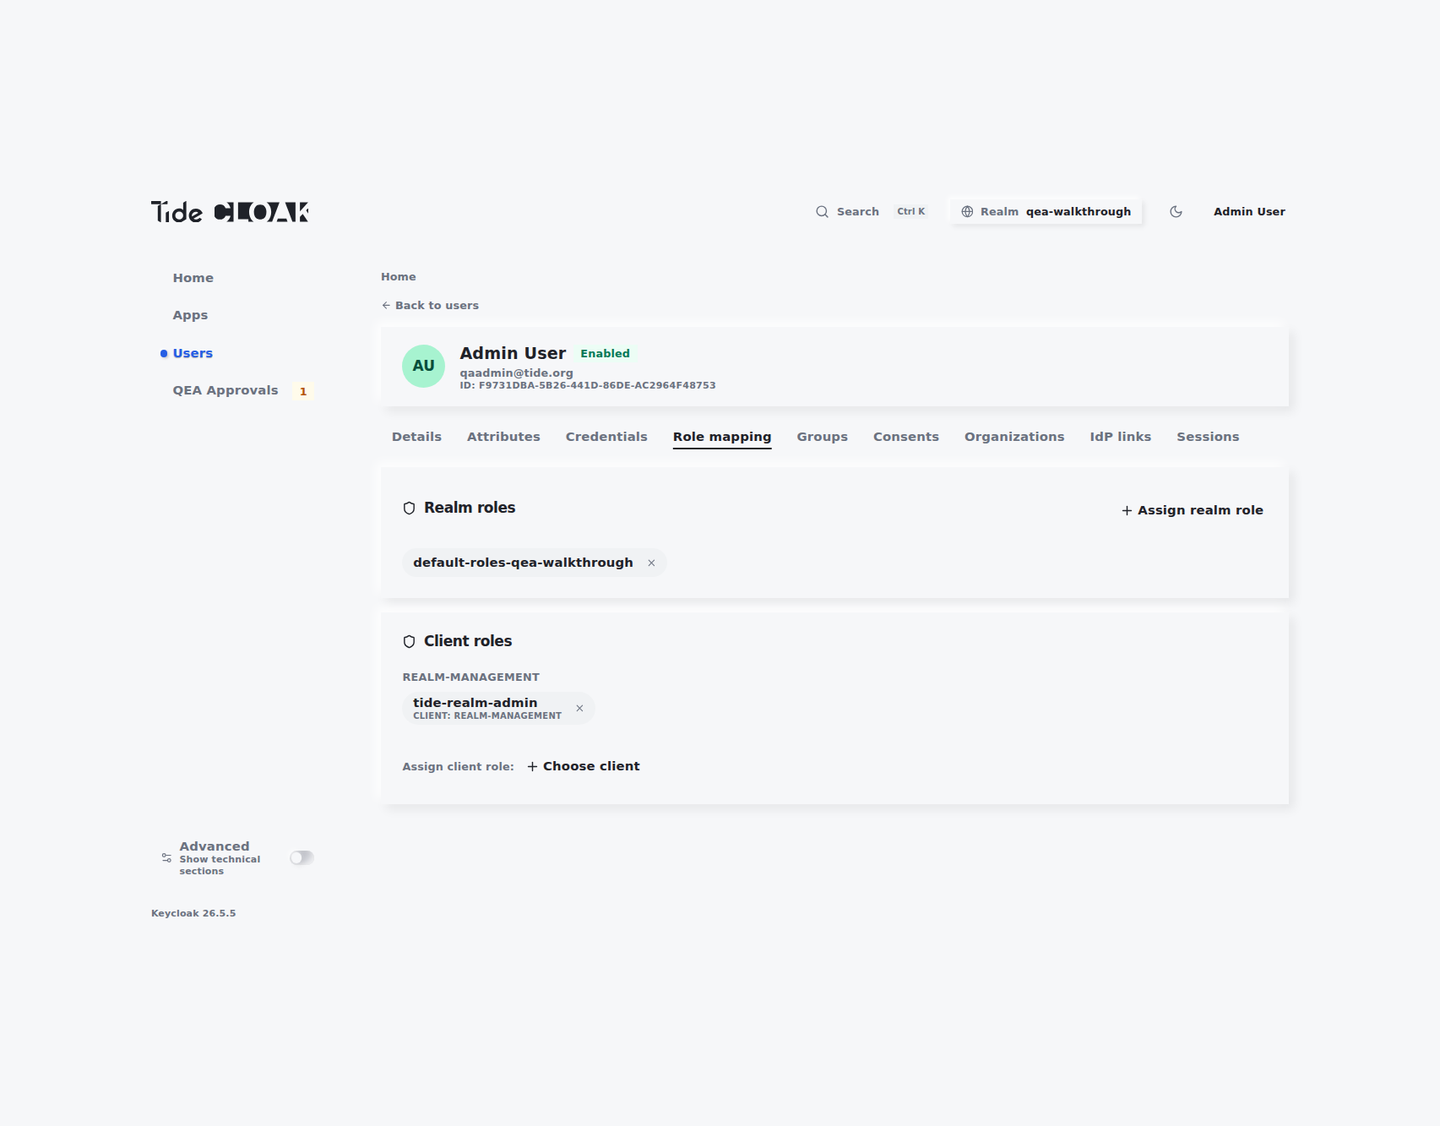
- Assign or remove roles under Advanced → Roles (or per-user from People).
- A request appears in QEA Approvals for the affected user.
- Authorize (and commit at quorum) to finalize.
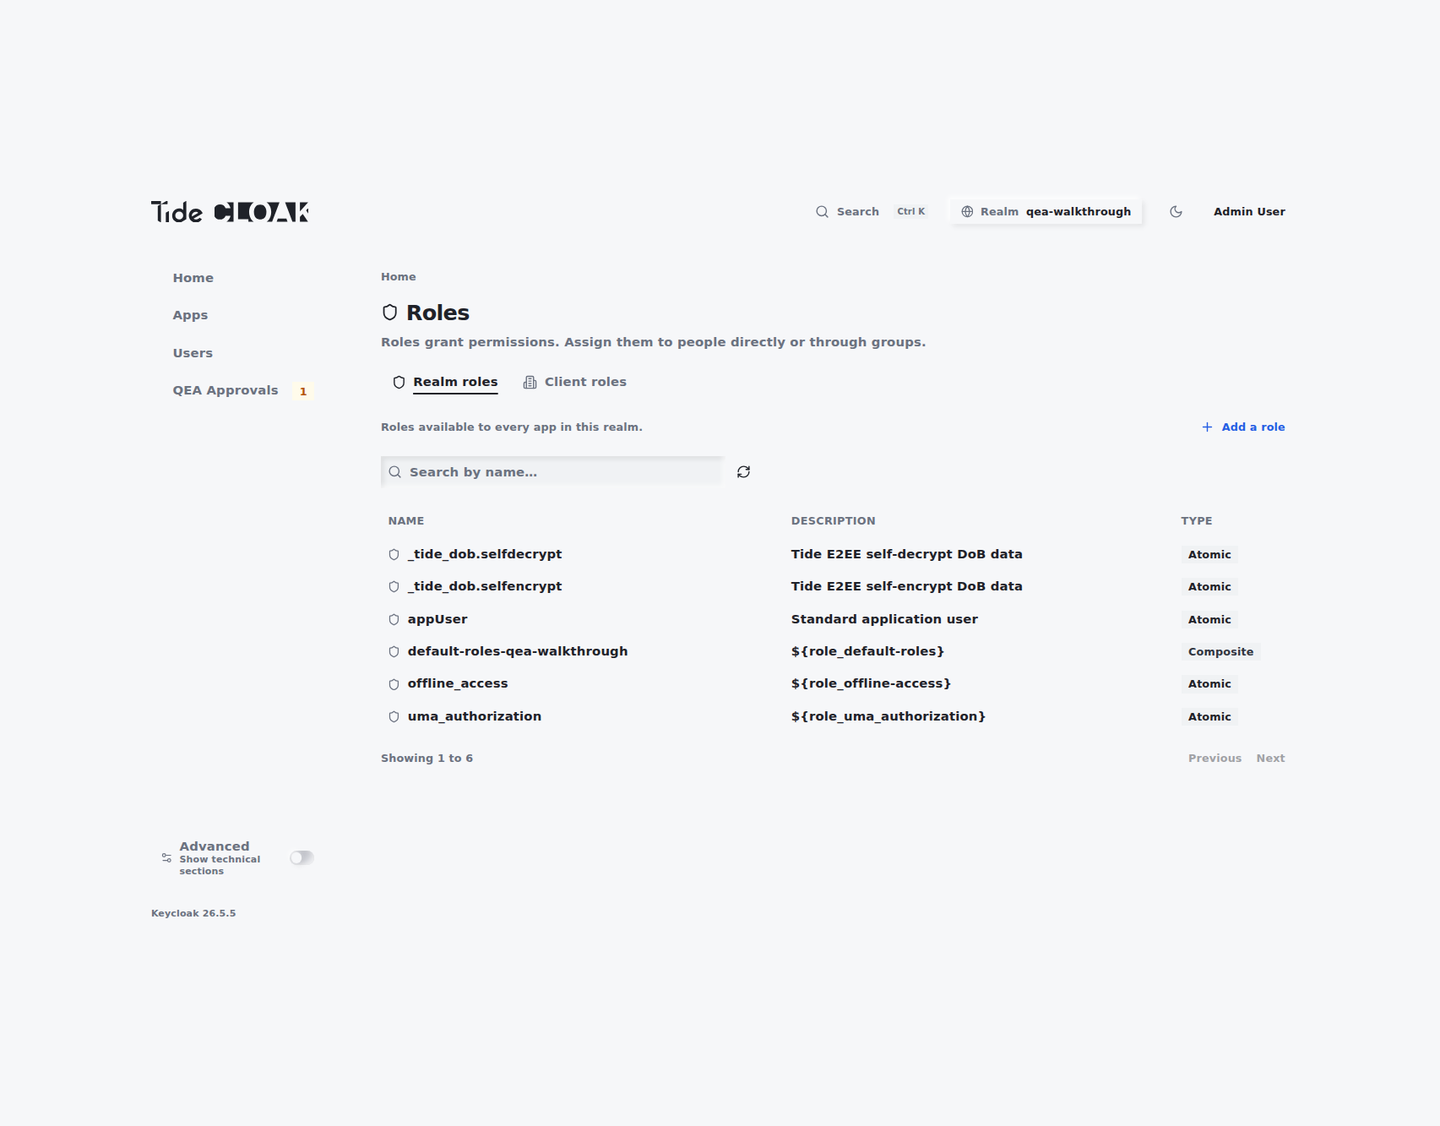
5.3 Role Management
- Manage roles under Advanced → Roles.
- Create or modify roles; user-impacting changes generate requests.
- Authorize via QEA Approvals.
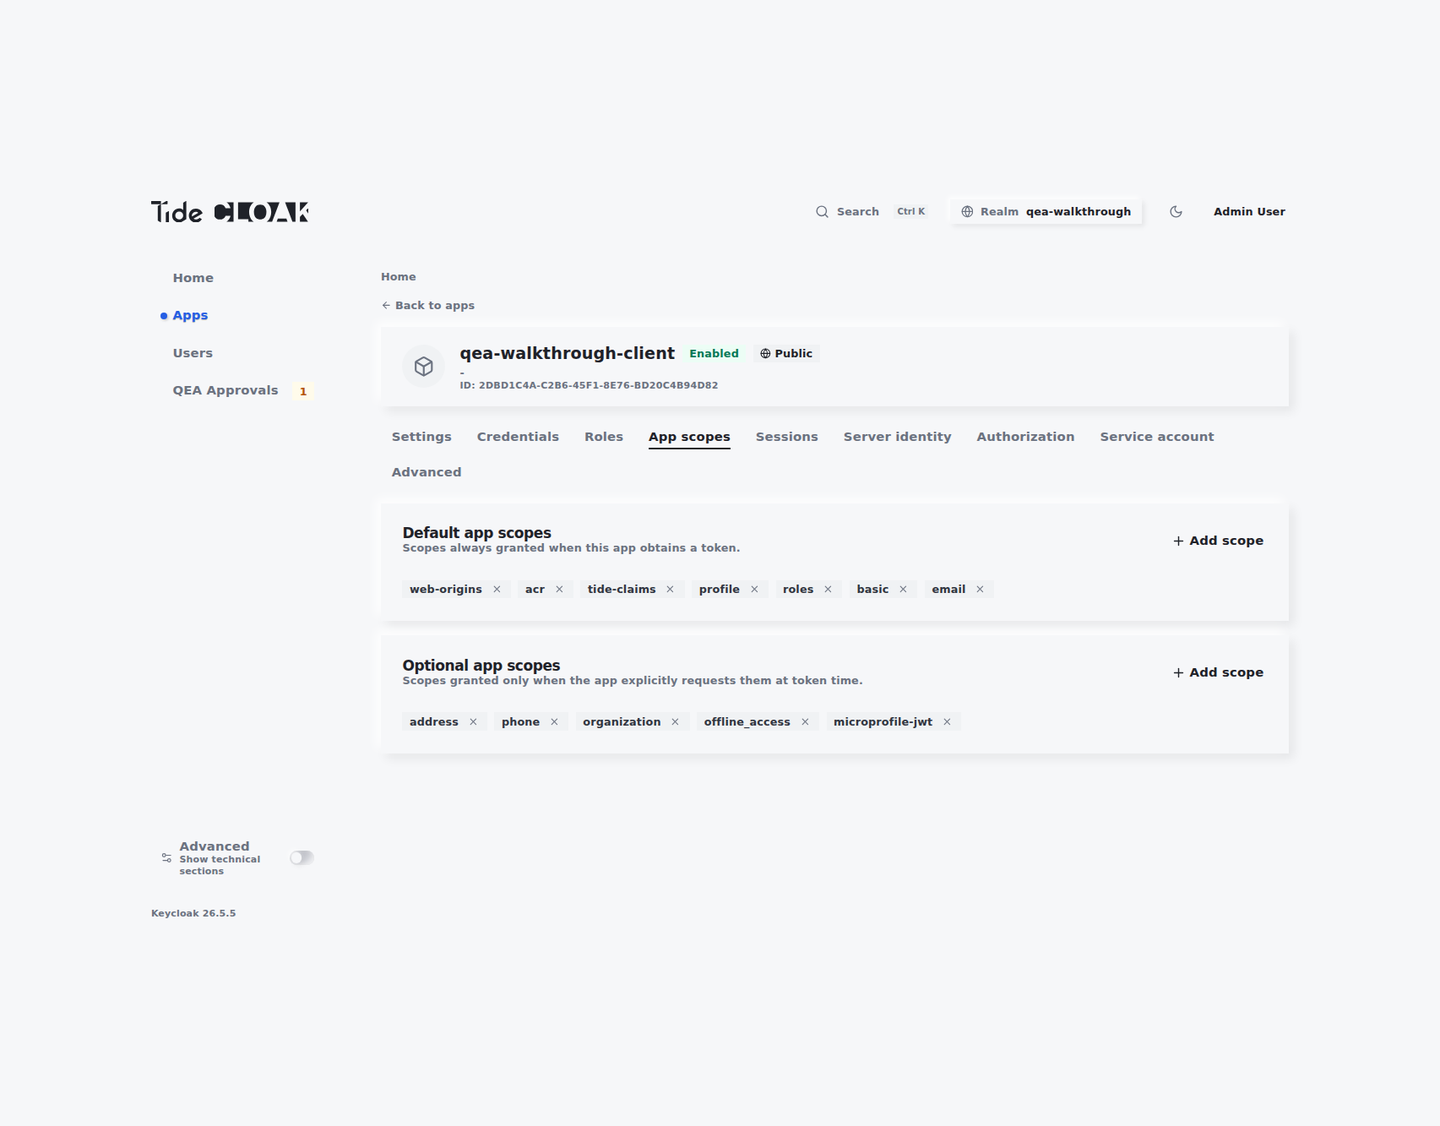
5.4 Client Scope Changes
- Modify scopes from an app under Apps.
- Changes affecting permissions generate requests in QEA Approvals.
- Authorize and commit to apply.
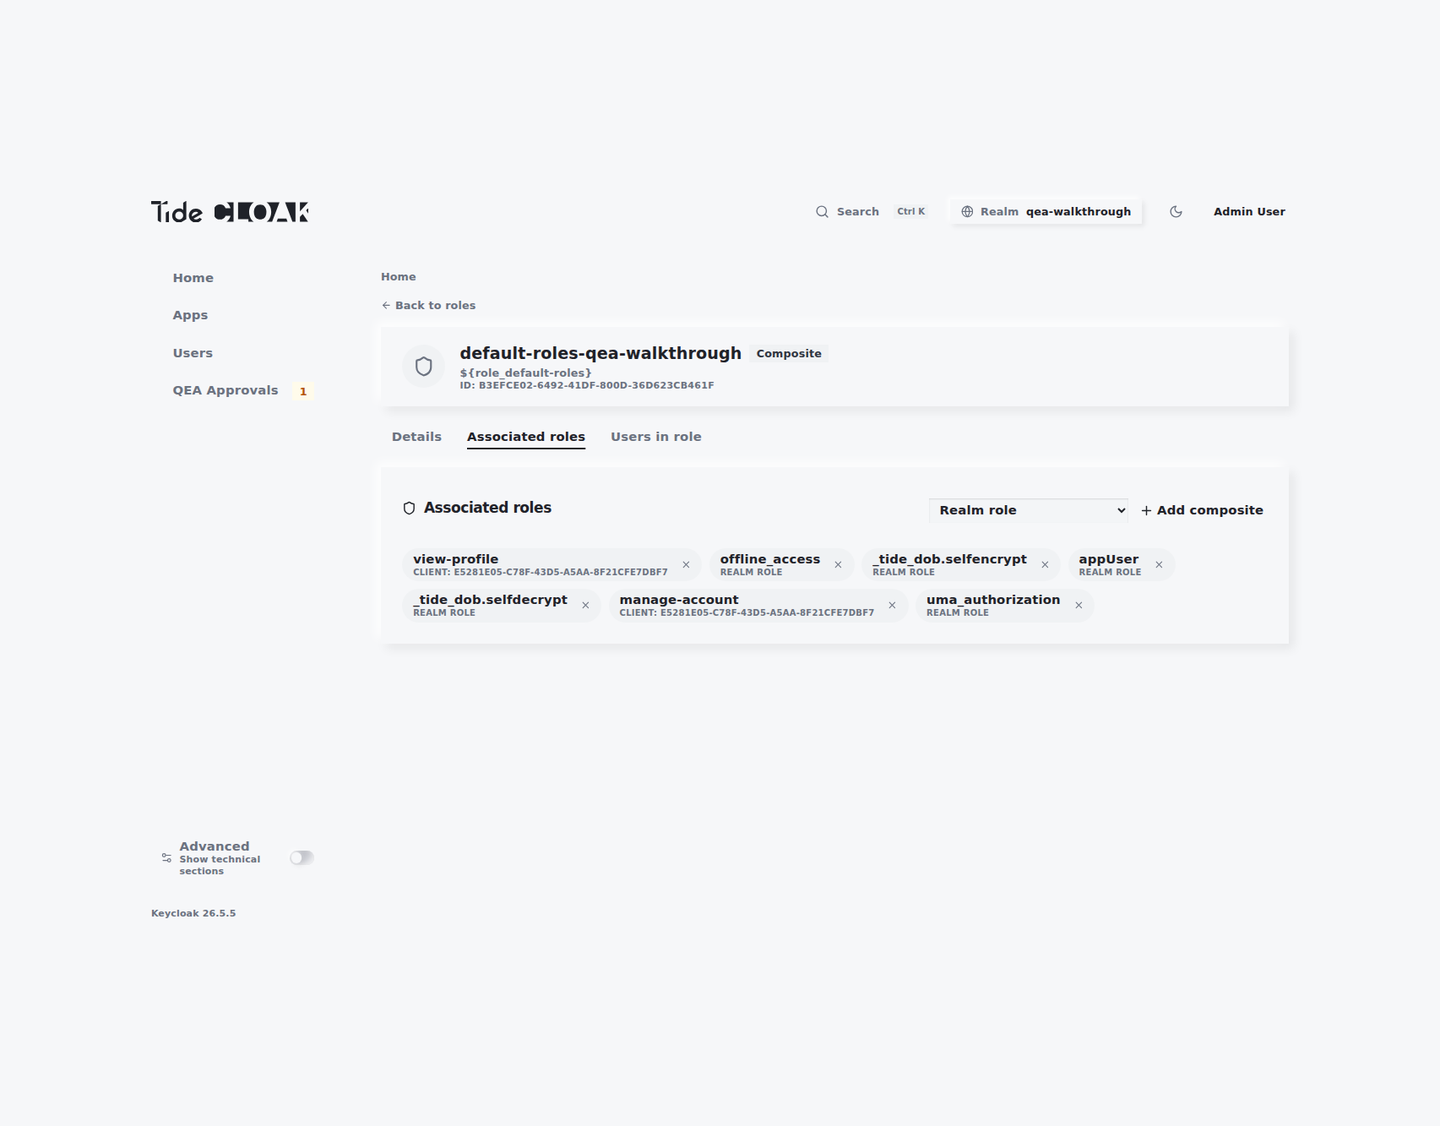
6. Default Roles Management
Parent roles (e.g., default-roles-myrealm) group child roles and auto-assign them to new users.
- Turn on Advanced, go to Roles → default-roles-myrealm.
- Add or remove child roles.
- Changes require the same QEA approval process.
7. Action Types in Change Requests
| Action | Type | Trigger |
|---|---|---|
| Granting Role to User | User | Assign role in Roles / People |
| Unassigning Role from User | User | Remove role in Roles / People |
| Granting Role to Composite Role | Role | Add child role under Roles |
| Enabling Full Scope | Client | Toggle Full Scope on an app |
Next steps
- Why changes go through QEA: Admin Overview.
- The crypto-free threshold flow on a non-Tide realm: Tideless QEA Demo.
- Govern data access with roles and scopes: End-to-end encryption.
- View, renew, and manage the realm license: Manage your Tide license.