Setting up Tide E2EE
This guide shows you how to set up Tide end-to-end encryption: define the realm roles that gate encrypt and decrypt, authorize the governed change requests that create and grant them, create an OIDC app, and encrypt and decrypt from your app with a TideCloak SDK.
For what end-to-end encryption is and why it works this way, see Hermetic End-to-End Encryption.
Before you start
- You have admin access to the TideCloak tide-console.
- You have a Tide realm with the Tide IdP added and licensed.
- QEA (Quorum Enforced Authorization) is enabled and your admin account holds the
tide-realm-adminrole. To set this up, see Set up QEA. Encryption only works on a realm with QEA enabled: only then does signing in issue the doken that the SDK needs to encrypt and decrypt.
1. Define encrypt/decrypt roles
-
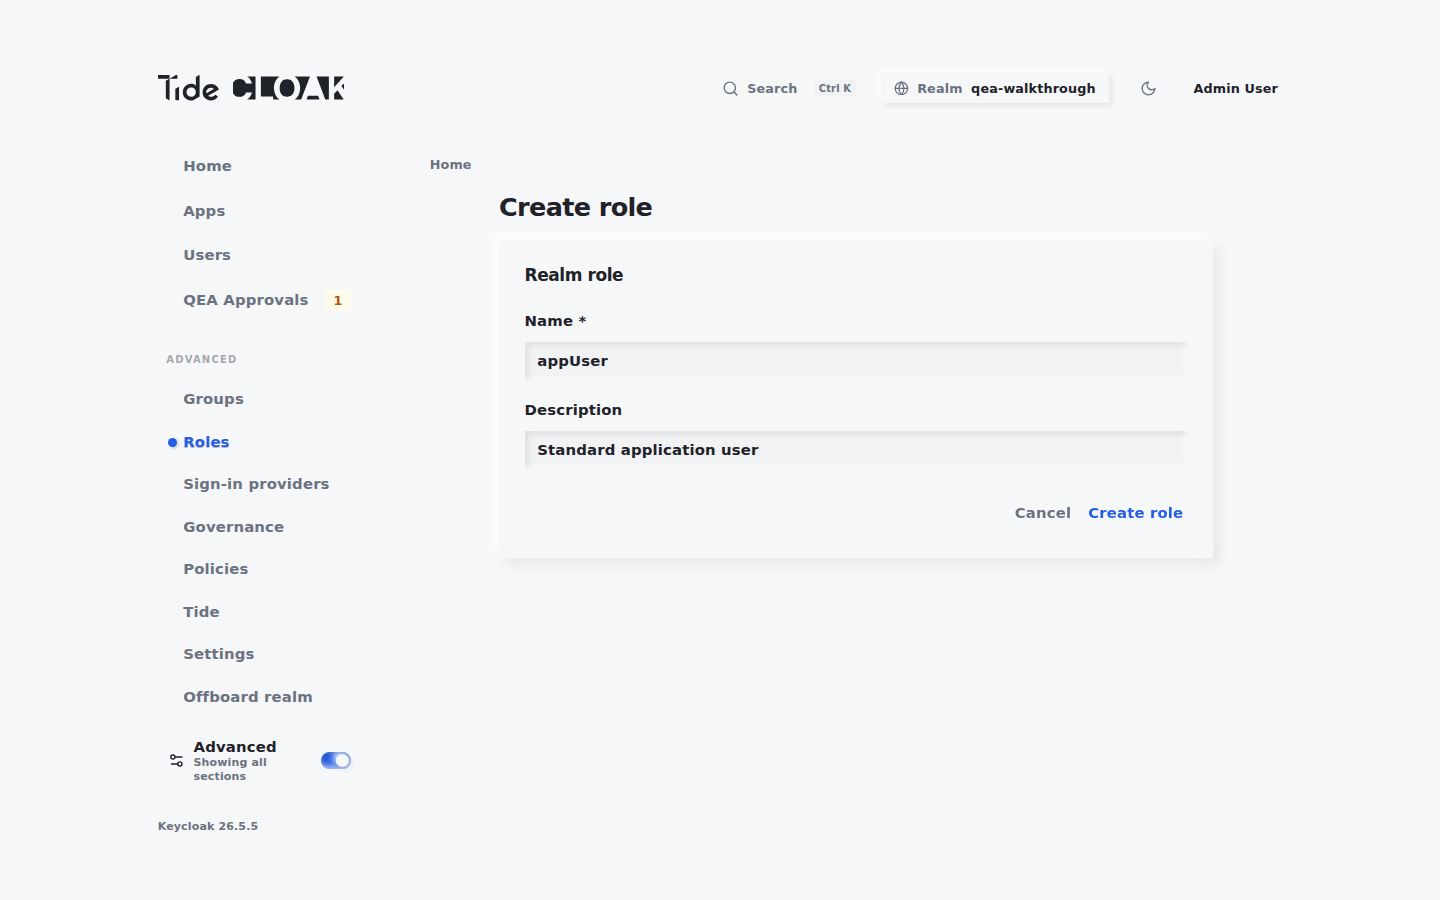
In the tide-console, turn on the Advanced toggle (bottom-left), go to Roles → Realm roles → Add a role.
-
Create two roles for each field you want to protect. For example, to protect
dateOfBirth:_tide_dob.selfencrypt_tide_dob.selfdecrypt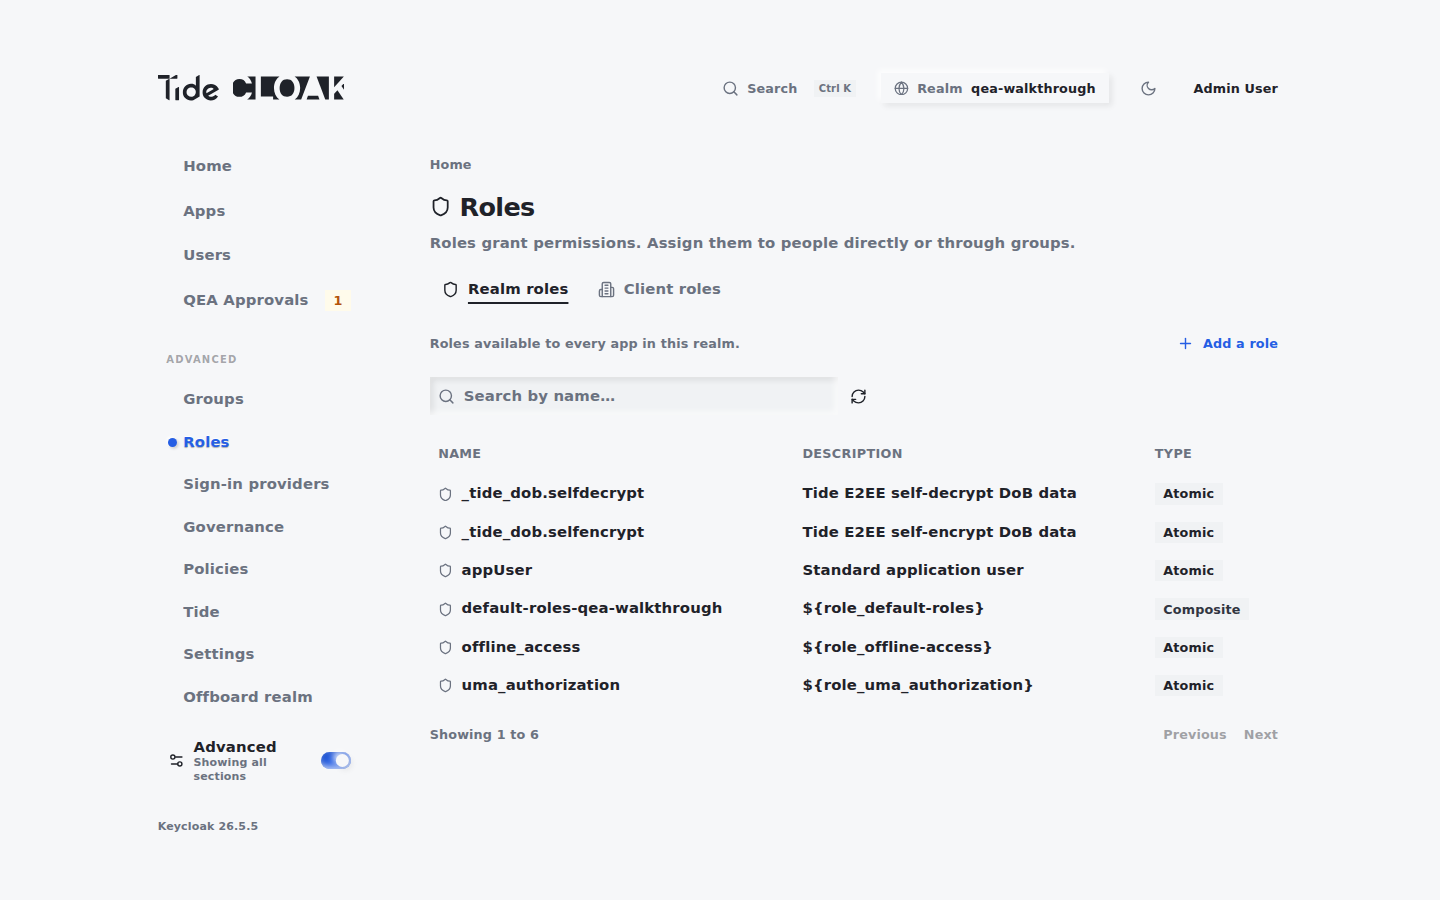
Each new role is filed as a change request. The role exists only after that request is committed (see step 2).
-
Once both roles are committed, assign them to your defaults group. In Roles → Realm roles, select
default-roles-<realm>, click Assign role, filter for your new roles, then Add. This files another change request.
2. Authorize the change requests
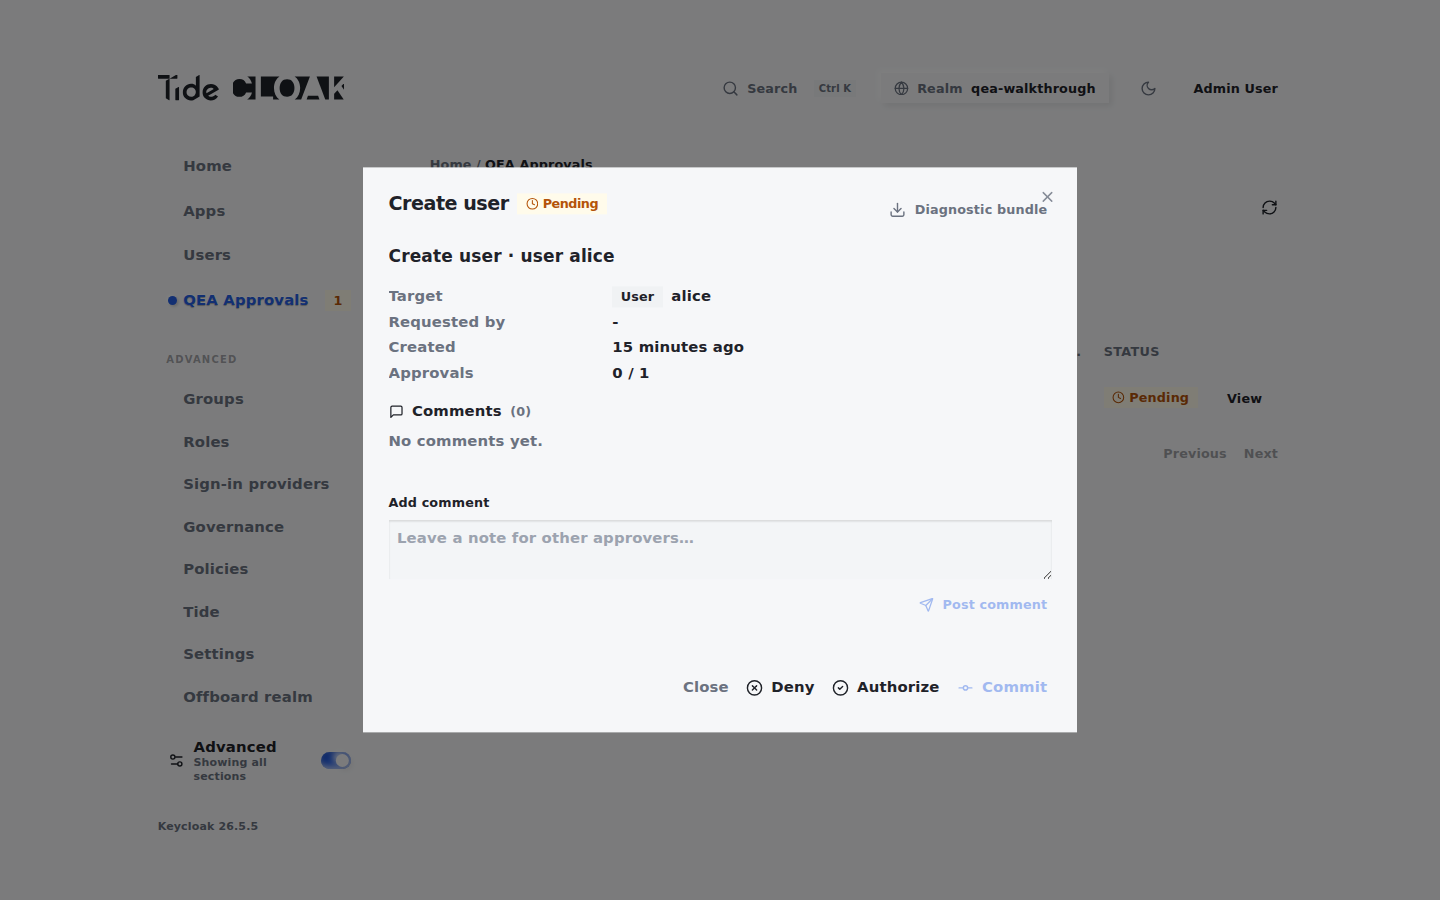
Role creation and the default-roles assignment each file a governed change request that the admin quorum must authorize. For the Authorize / Commit mechanics, see Set up QEA.
-
Go to QEA Approvals → open the change request → Authorize. Once approvals reach quorum, the request commits automatically. Authorize the role creation requests before you assign the roles, then authorize the assignment request.
-
After the assignment is committed, both roles appear under
default-roles-<realm>, so every user receives them.
3. Create an OIDC app
-
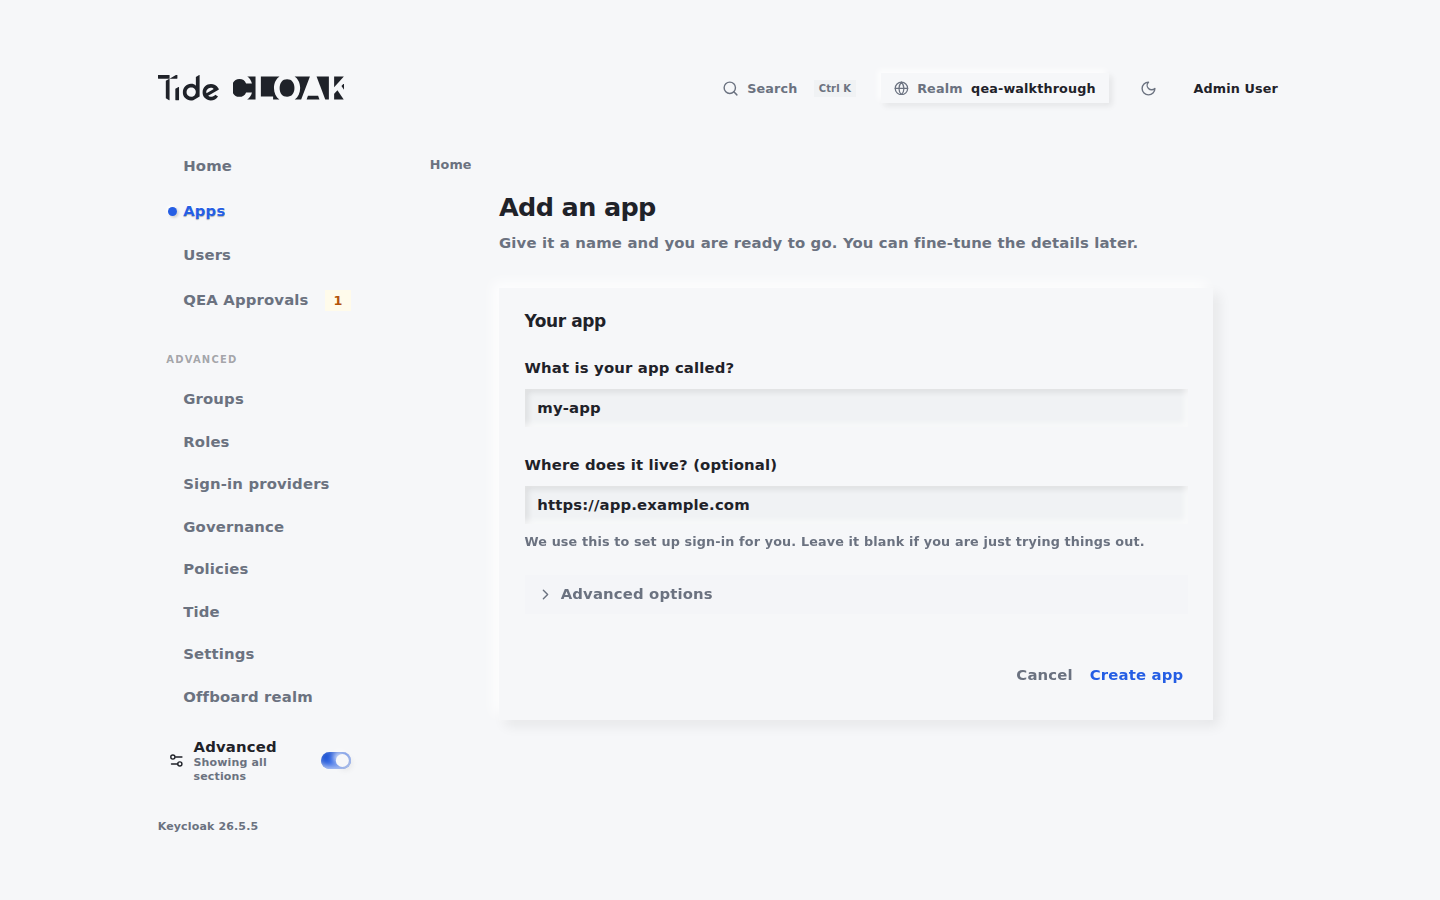
Go to Apps → Add an app:
- Name: a descriptive label, e.g.
edtest-client. - Where does it live?: your app's URL (optional while testing).
- Name: a descriptive label, e.g.
-
In the app's Settings tab, set redirect URIs and web origins to your app's callback and origin.
Creating the app and editing its redirect URIs or web origins each file a change request. Authorize them in QEA Approvals; the app and its settings take effect only once committed.
You don't need to add the encrypt/decrypt roles as app scopes. They reach the user's token through the default roles.
4. Encrypt and decrypt from your app
Encryption runs in the browser through a TideCloak SDK, after the user signs in with their Tide account. Set up the SDK first, for example with the React tutorial.
-
Sign in to your app with a Tide account.
-
Call
doEncryptanddoDecryptwith the tag from your role names (dobfor_tide_dob.selfencrypt). This React component encrypts a date of birth and decrypts it again:src/EncryptDob.tsximport { useState } from 'react';import { useTideCloak } from '@tidecloak/react';export default function EncryptDob() {const { doEncrypt, doDecrypt } = useTideCloak();const [result, setResult] = useState('');async function run() {const [encrypted] = await doEncrypt([{ data: '1980-01-01', tags: ['dob'] }]);const [decrypted] = await doDecrypt([{ encrypted, tags: ['dob'] }]);setResult(String(decrypted));}return (<div><button onClick={run}>Encrypt and decrypt</button><p>{result}</p></div>);}Render it for signed-in users only. Encrypting needs
_tide_dob.selfencryptand decrypting needs_tide_dob.selfdecrypt.datamust be a string or aUint8Array.
The vanilla JS SDK uses the same call shape on IAMService.doEncrypt and IAMService.doDecrypt, and the Next.js SDK exposes them on useTideCloak() from @tidecloak/nextjs.